


Adapting a Leica Lens to Sony
A little optical magic allows a lens to make the transition from film to digital

This is part one. Part two, “Adding Corrective Optics to an Film-Era Lens,” can be found here.
A few years ago, I did some serious film photography with a classic camera: the Hasselblad 903 SWC. The lure of that camera was the lens that was on it: a 38mm Zeiss Biogon.
On that camera, a 38mm lens was a wide-angle lens. It takes 6x6cm images (nominal size, actually closer to 54x54mm). Ever since I took that image, I have been thinking about getting a Biogon lens for my Sony.


Not central to the story of this post, but the draw of a Biogon lens is that it adds minimal distortion to the image. Most of today’s lenses are retrofocus lenses. This is a modern lens design; it alters the geometry of a lens to accommodate larger back focus. It changes the angle at which light hits the image plane (film in the Haselblad; digital sensor in most modern cameras).
Historically, the 35mm format was dominated for a long time by the use of a mirror, which reflects light upward into the photographer’s eye for framing photographs. That mirror takes up space, and a conventional lens like a Biogon doesn’t allow such space. It sits, it needs to sit, quite close to the recording medium (e.g., film).
Now that we have mirrorless cameras, where the lens can sit much closer to the recording medium again, the Biogon can be used again.
However! There is still an issue. The lenses may have come back toward the image plane, but lenses like the Biogon still have a sharp angle to be able to reach all areas of the film plane. This works for film; film doesn’t care what angle the light is coming in at. But when you use pixels to record the light, they are not flat like film. They are little tiny cans, in effect, and a light ray that comes in at a shallow angle will not hit the light-sensitive pixels correctly (and maybe not at all!)
So modern versions of the Biogon were made for film cameras. They work fine with film, illuminating the film surface reasonably well. But on a digital camera, there are two problems:
the left and right edges will be dark because some of the light doesn’t get to the bottom of the well (because it comes in at such a sharp angle);
There may be color changes on the left and rights edges (possibly different colors on each side), again because of the angle.
This is in addition to a normal thing that happens with wide-angle lenses: the light in the corners of the frame is attenuated (darker) because it is more spread out than the light in the center of the frame (called vignetting). And wait, there’s more! It’s also common for wide angle lenses, especially older designs, to not come to focus exactly flat. Again, film is thick and forgiving, so the edges may be OK, or just a little soft. On a digital sensor, with its tiny pixels and perfectly flat surface, some parts of the image can be out of focus.
That makes a mess, and so many older lens designs are simply not used on digital cameras. (No matter how much a photography may love them from his her her film days.)
In simplest therms: the images look bad: dark edges, off-color side areas, out of focus in the corners.
The answer to this little nightmare is to add a thin, slightly curved lens to the front of the camera lens, called a plano-convex lens (PCX for short).
A very nice description of all of this, in greater detail than I am providing here, can be found on the Phillip Reeve blog:
Rangefinder Lenses on A7 Cameras
The specific lens I bought, a 21mm Zeiss Biogon f/4.5, was not covered by that page, so I set out to make my lens work using the ideas from that page.
Here is a rundown of what I needed to do to make my lens work:
Add a PCX lens to the front, which means designing and building an adaptor to do that. This corrects one very important problem: the out-of-focus corners caused by field curvature.
Create a workflow that would allow me to use ‘flats’ (also called Lens Cast Captures in Capture One software) to remove the left/right color casts, as well as remove the vignetting.
Modify the lens so it would still reach infinity focus (adding the PCX lens changes the location of the focal plane!!!)
This all sounded doable, but it wasn’t trivial. I thought it might take a few hours; it really took a few weeks to work out the details in a satisfactory way.
Let’s begin by looking at the problem. Here is an image taken with the 21mm Biogon that shows both the lens cast (left/right darkness), and vignetting (overall edge darkening).
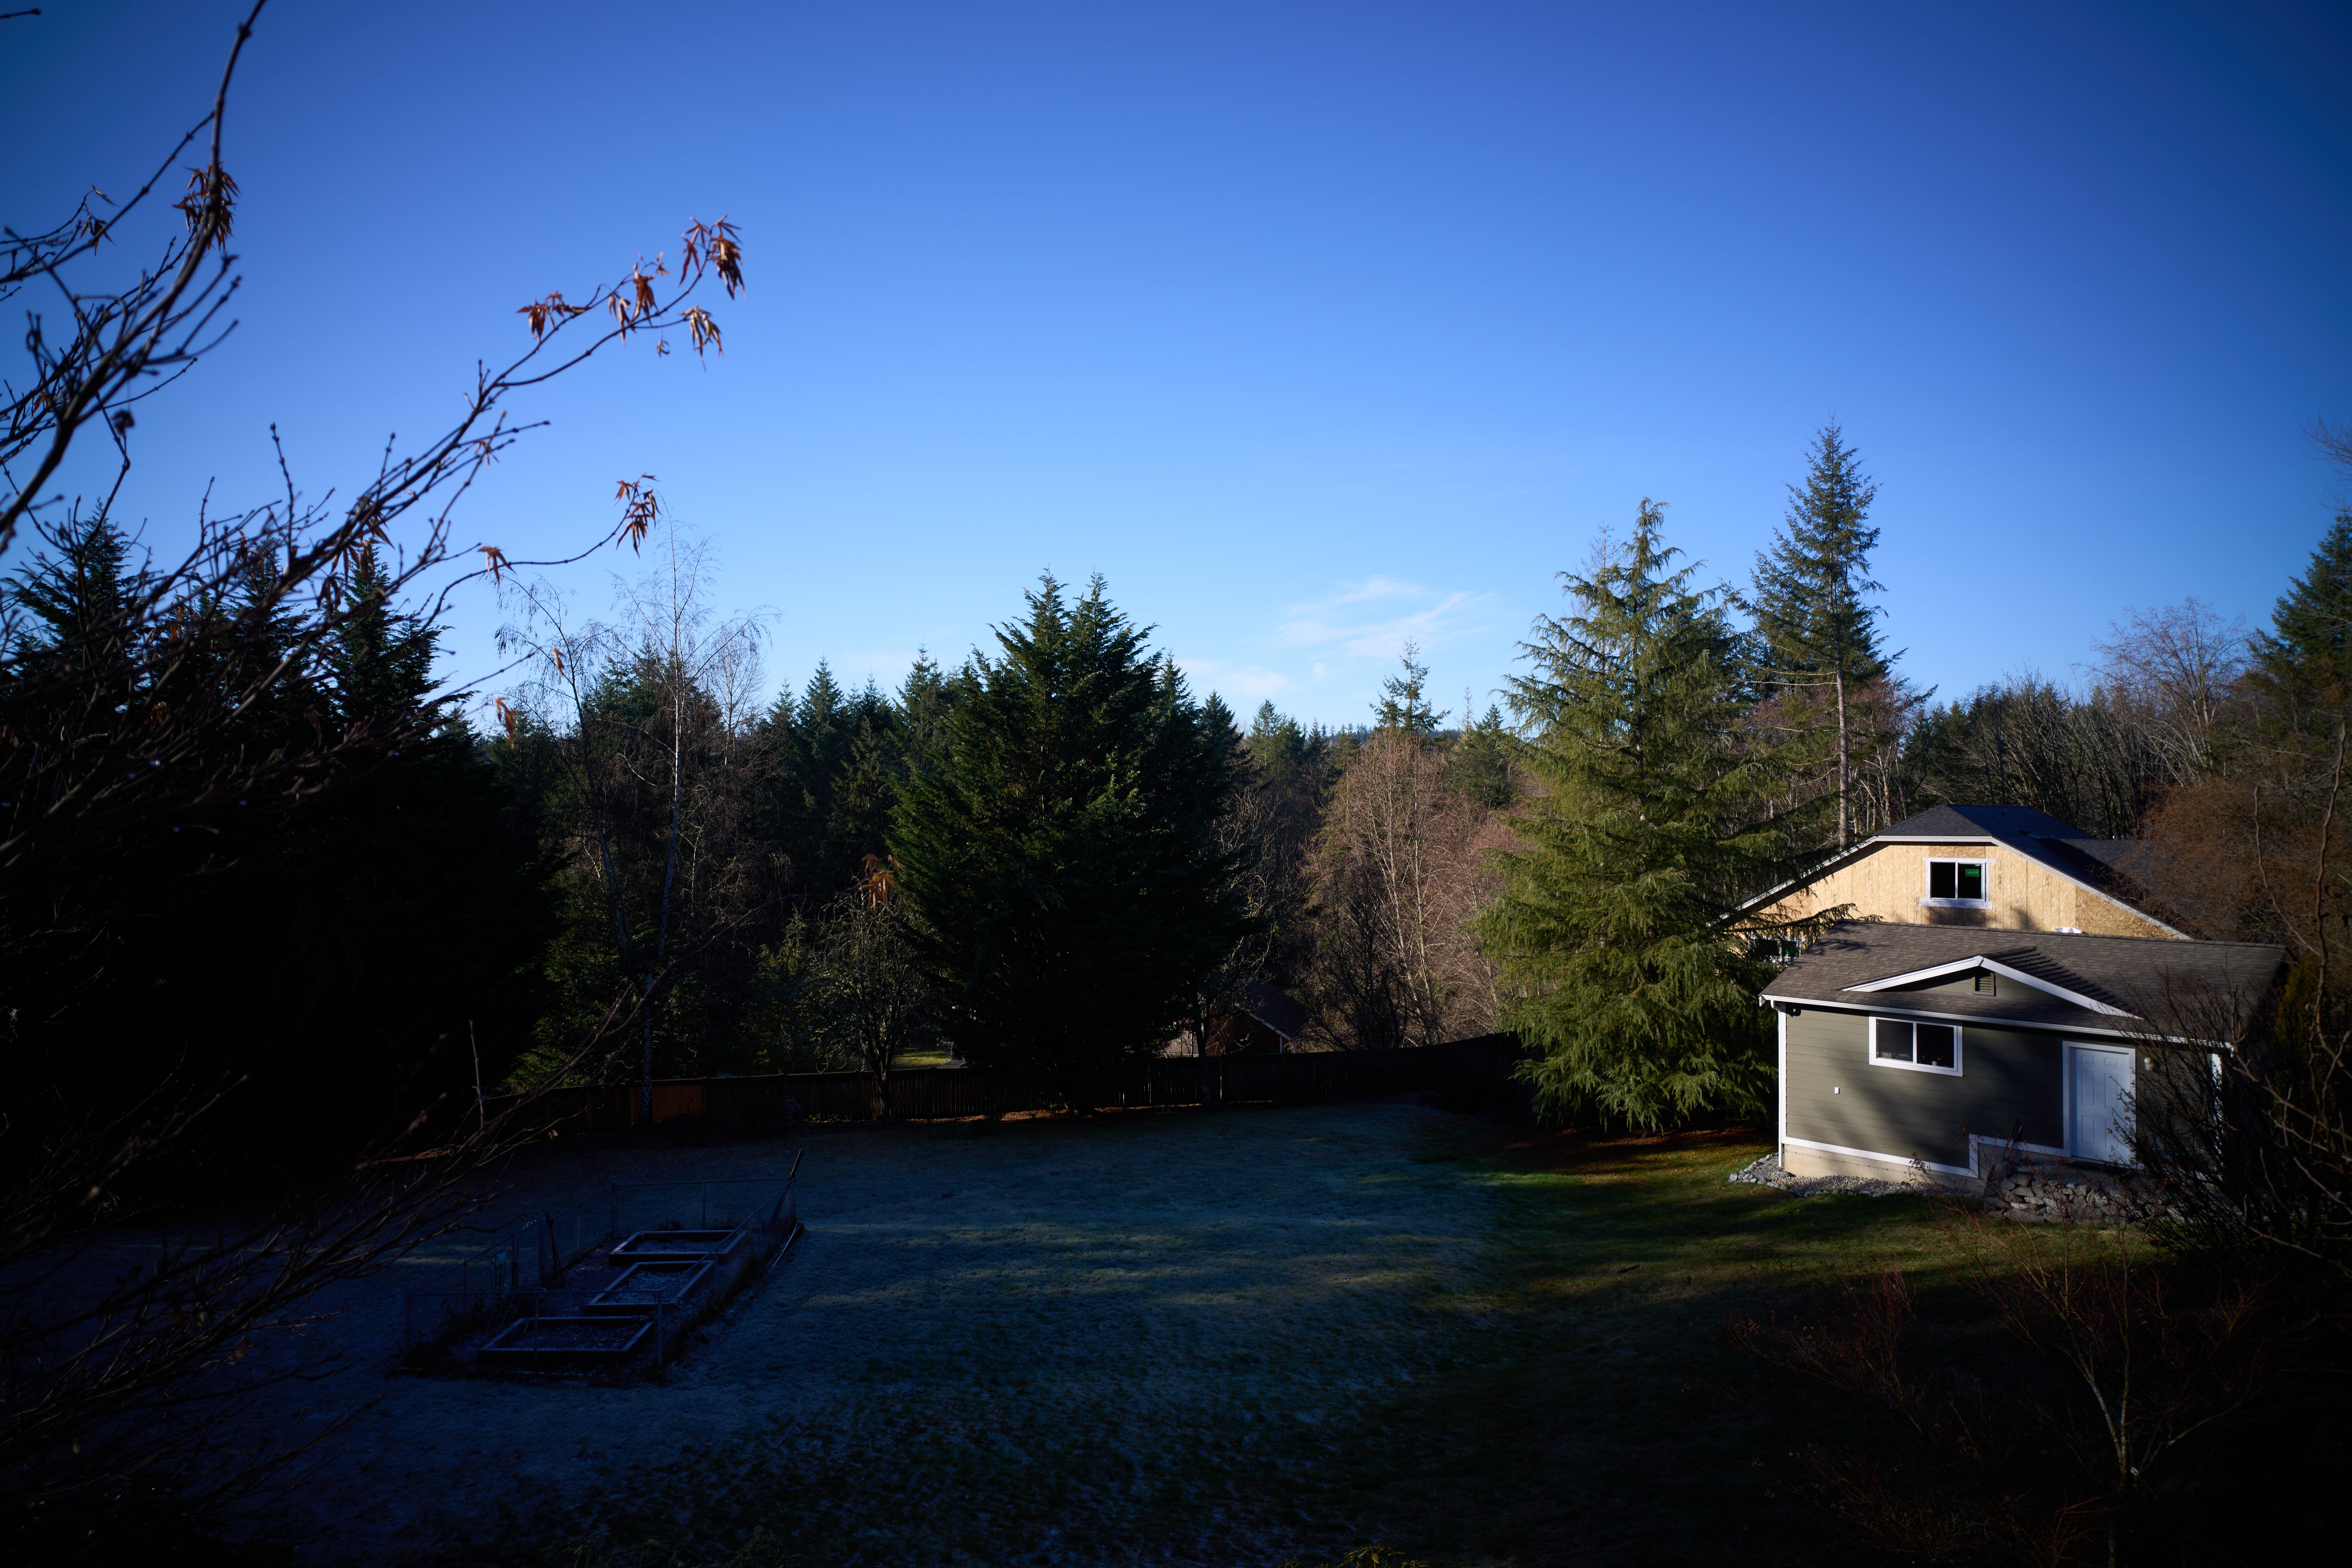
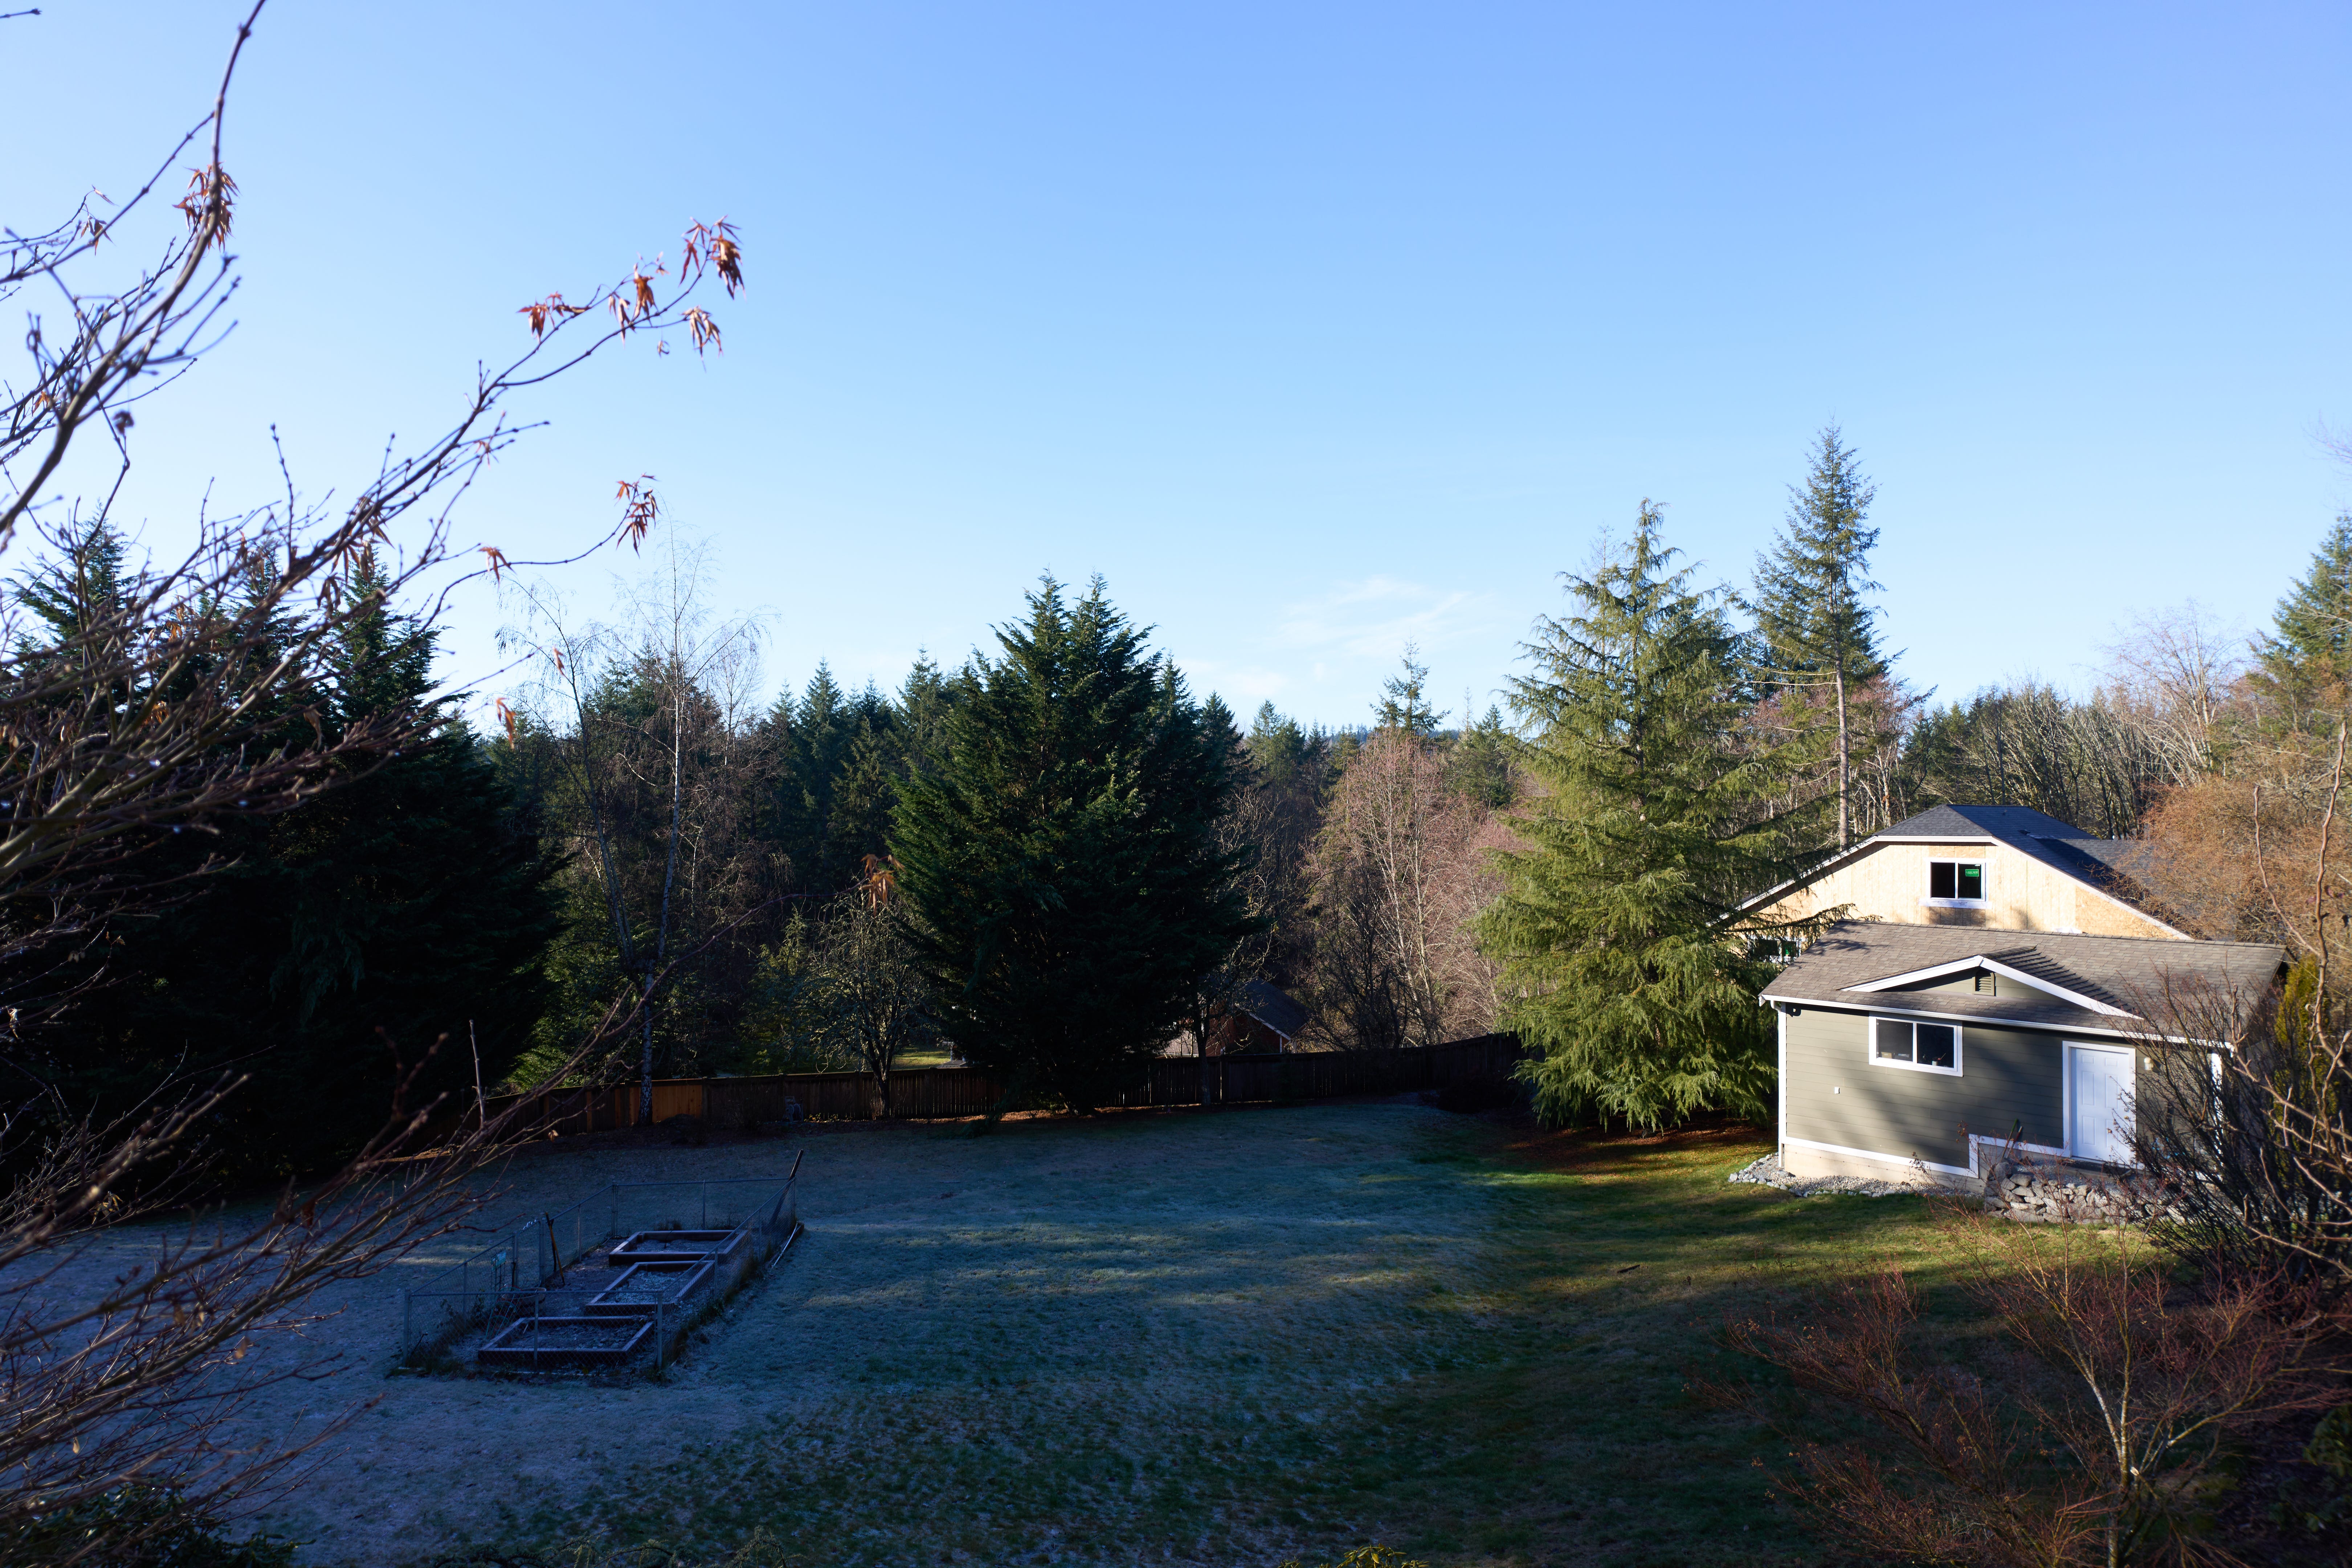
To remove the content of the shot (my backyard), and to record only the lens cast and vignetting, I put a piece of white plastic against the front of the lens, and set an exposure two stops brighter (to let in more light; the plastic attenuates the light). I kept the same focus position (typically, but not always, important) as the original photo. I also made sure I used the same f-stop (always critical to do). I got this:

So now I have an image that records just the problems: the color casts, and the corner darkness. I can then use software to use that image to correct the original image. (It’s not exactly a simple subtraction, so you need to use software that ‘knows’ how to perform this operation.)
I use Capture One, which makes this correction step pretty easy, but Lightroom and some other programs can also remove lens cast and vignettes using this method.
Note: these two problems are present with and without the PCX lens. The most important thing the PCX lens does is to flatten the optical field of the lens, making it sharp from corner to corner for digital sensors.
So now we have an image that has proper illumination from corner to corner, but still has poor focus where the field is curved (corners and left/right edges).
The image has been corrected, and can now be processed, perhaps to brighten the shadows a bit, and add a little color with a saturation increase.
Note: all image editing happens after the lens cast removal.
To correct the soft corners, we need to add the PCX lens, and then adjust the focus position for infinity focus. See Part Two for this information. Here are before and after images of the lower right corner. The left side is without the PCX lens, and shows a blurry area that is out of focus due to field curvature. The right side was taken with the PCX lens, and the area is as sharp as the rest of the image.


Click here to go to the tutorial for how to mount a PCX lens on the 21mm Biogon—which also involves removing some shims so the (slightly) magnified image still comes to focus.