


Quoth the Photographer: Nevermore!
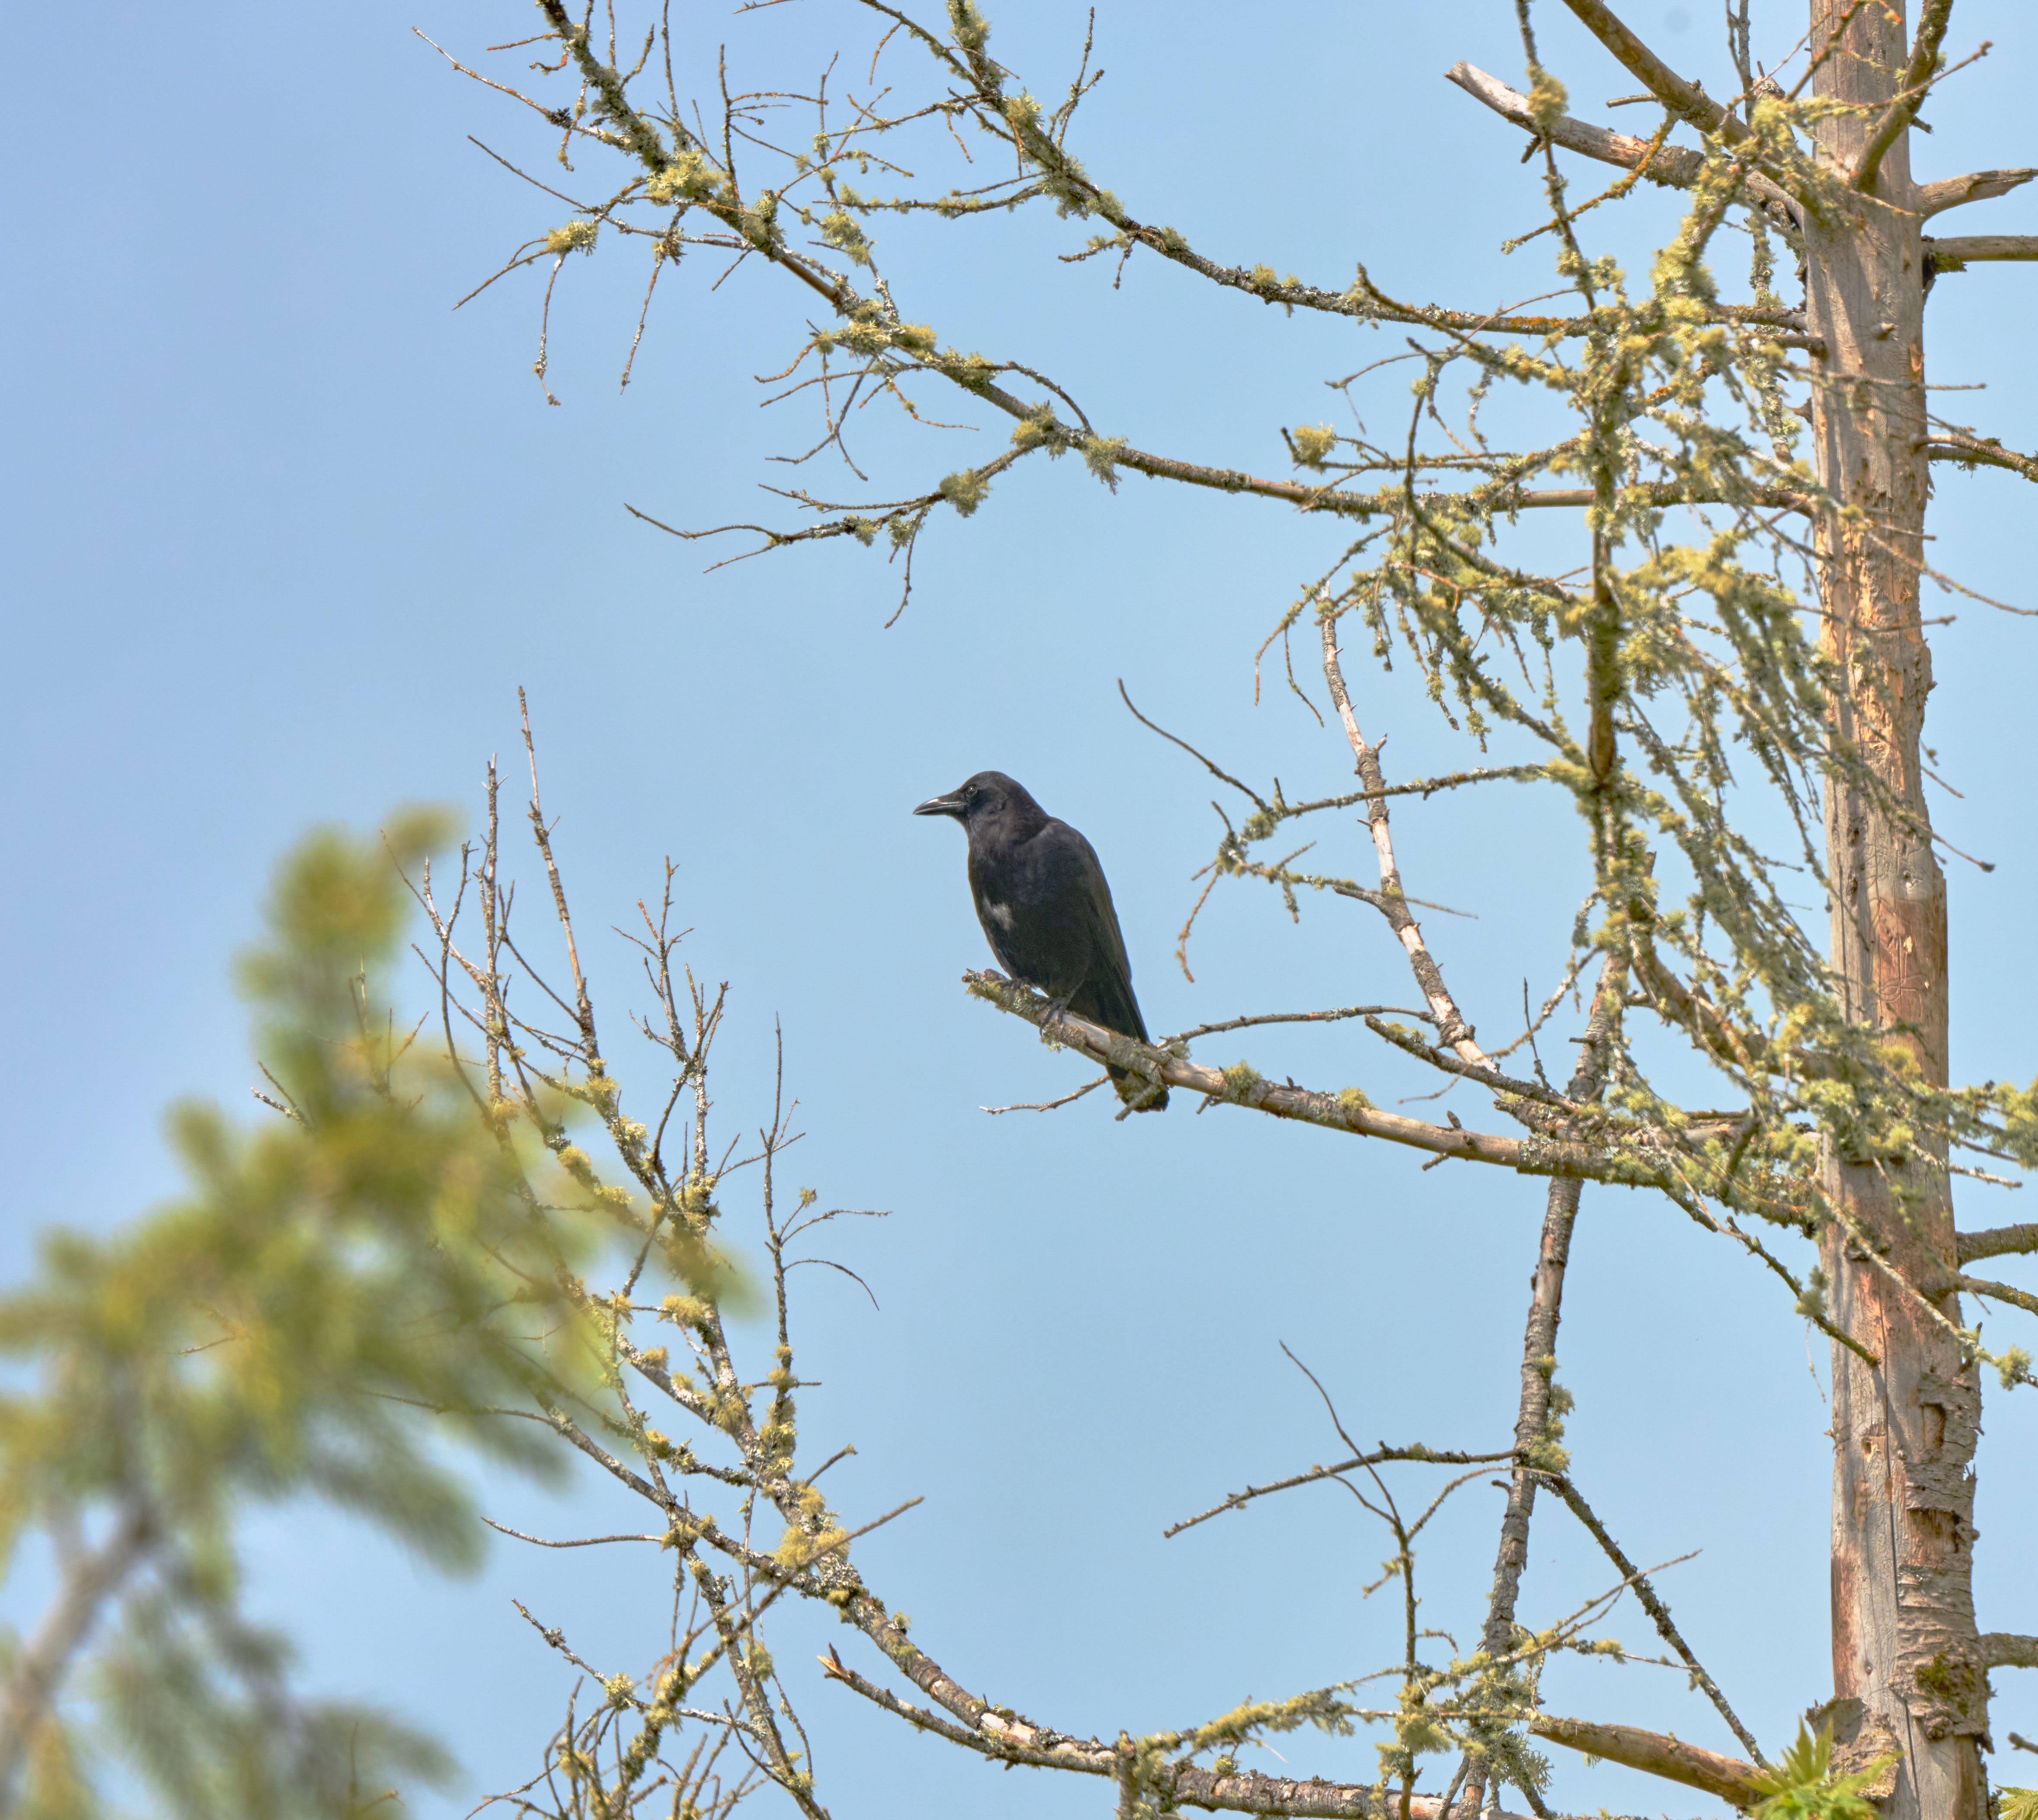
The Raven was just sitting there.

What is the right exposure for a photograph? Some would say Ansel Adams had the answer to that; some would suggest other methods. I would say there is no one right exposure with today’s cameras.
Why? Well, there are aesthetic and technical reasons for that opinion.
Technically, you want to capture the widest possible range of brightness levels in a photograph, and then choose what to do with them during development (enlarger back in the day with film; computer software today).
Back when we used film all the time, there were only so many stops (brightness levels) of light that you could capture on film, and they were smaller in number that what nature displays on a sunny day. (And the number of stops was different for different films.) So you had to choose: what is my middle brightness level, and how should I set my exposure accordingly?
Today, the better digital cameras capture more stops of light than a computer monitor or television can display, so the choice comes later, after you’ve taken the shot. (And you can take this even further by distorting relative brightness levels using HDR, but that’s a topic for another day.)
My reasons for the developed exposure above are (mostly) aesthetic. The actual exposure was a mistake; I forgot to even set specific exposure parameters (shutter speed, ISO , aperture); I was using my camera like a binocular to look at the raven. I just clicked the button to take the picture without thinking about it. The picture was even more exposed than the final version above:
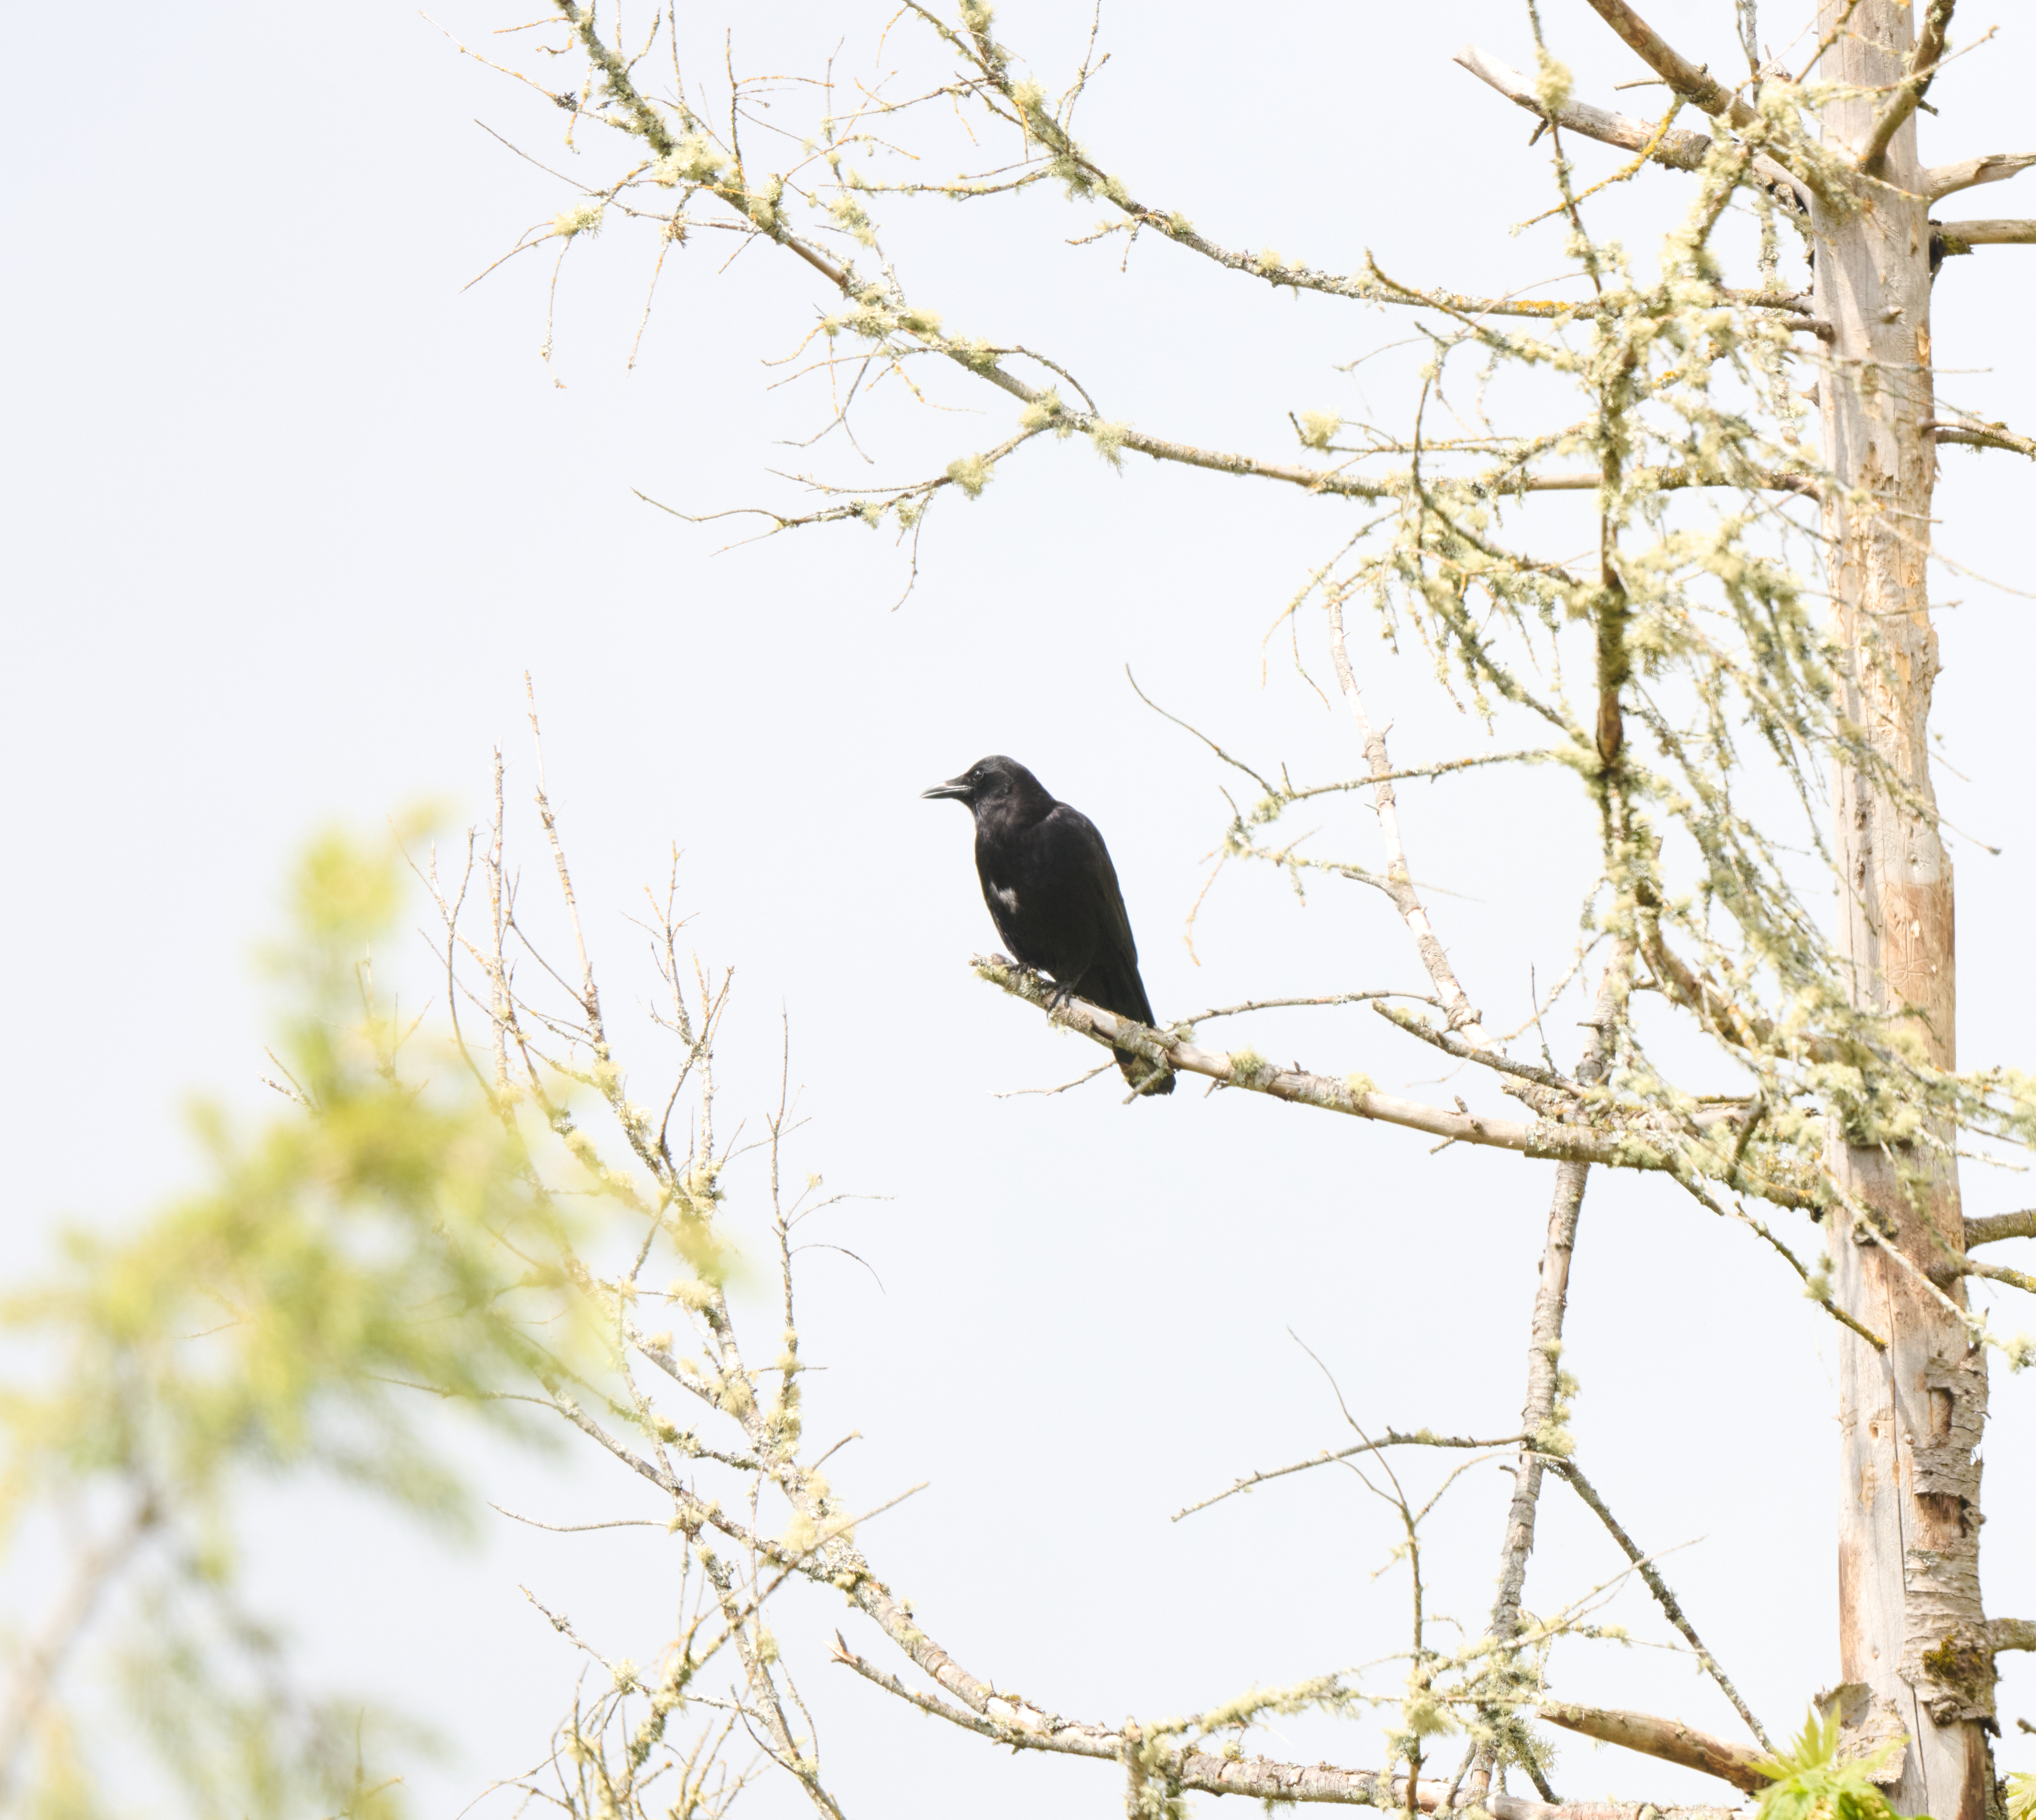
You could say the shot is overexposed, and you’d be right. But the developed exposure is able to show the shadow detail on raven so it the must be exposed correctly, and you’d be right about that, too.
Intention is everything when it comes to art. Even thought I didn’t have any intention when I shot the shot, afterwards, I realized what I had done (exposed for the raven and not the trees or the amount of sunlight) and liked it. There’s my final arbiter for ‘correct’ exposures: do I like it?
Now, I might apply a ton of technical thinking and planning to get there, but in the end of it doesn’t work for me, it doesn’t work for me.
That technical thinking was:
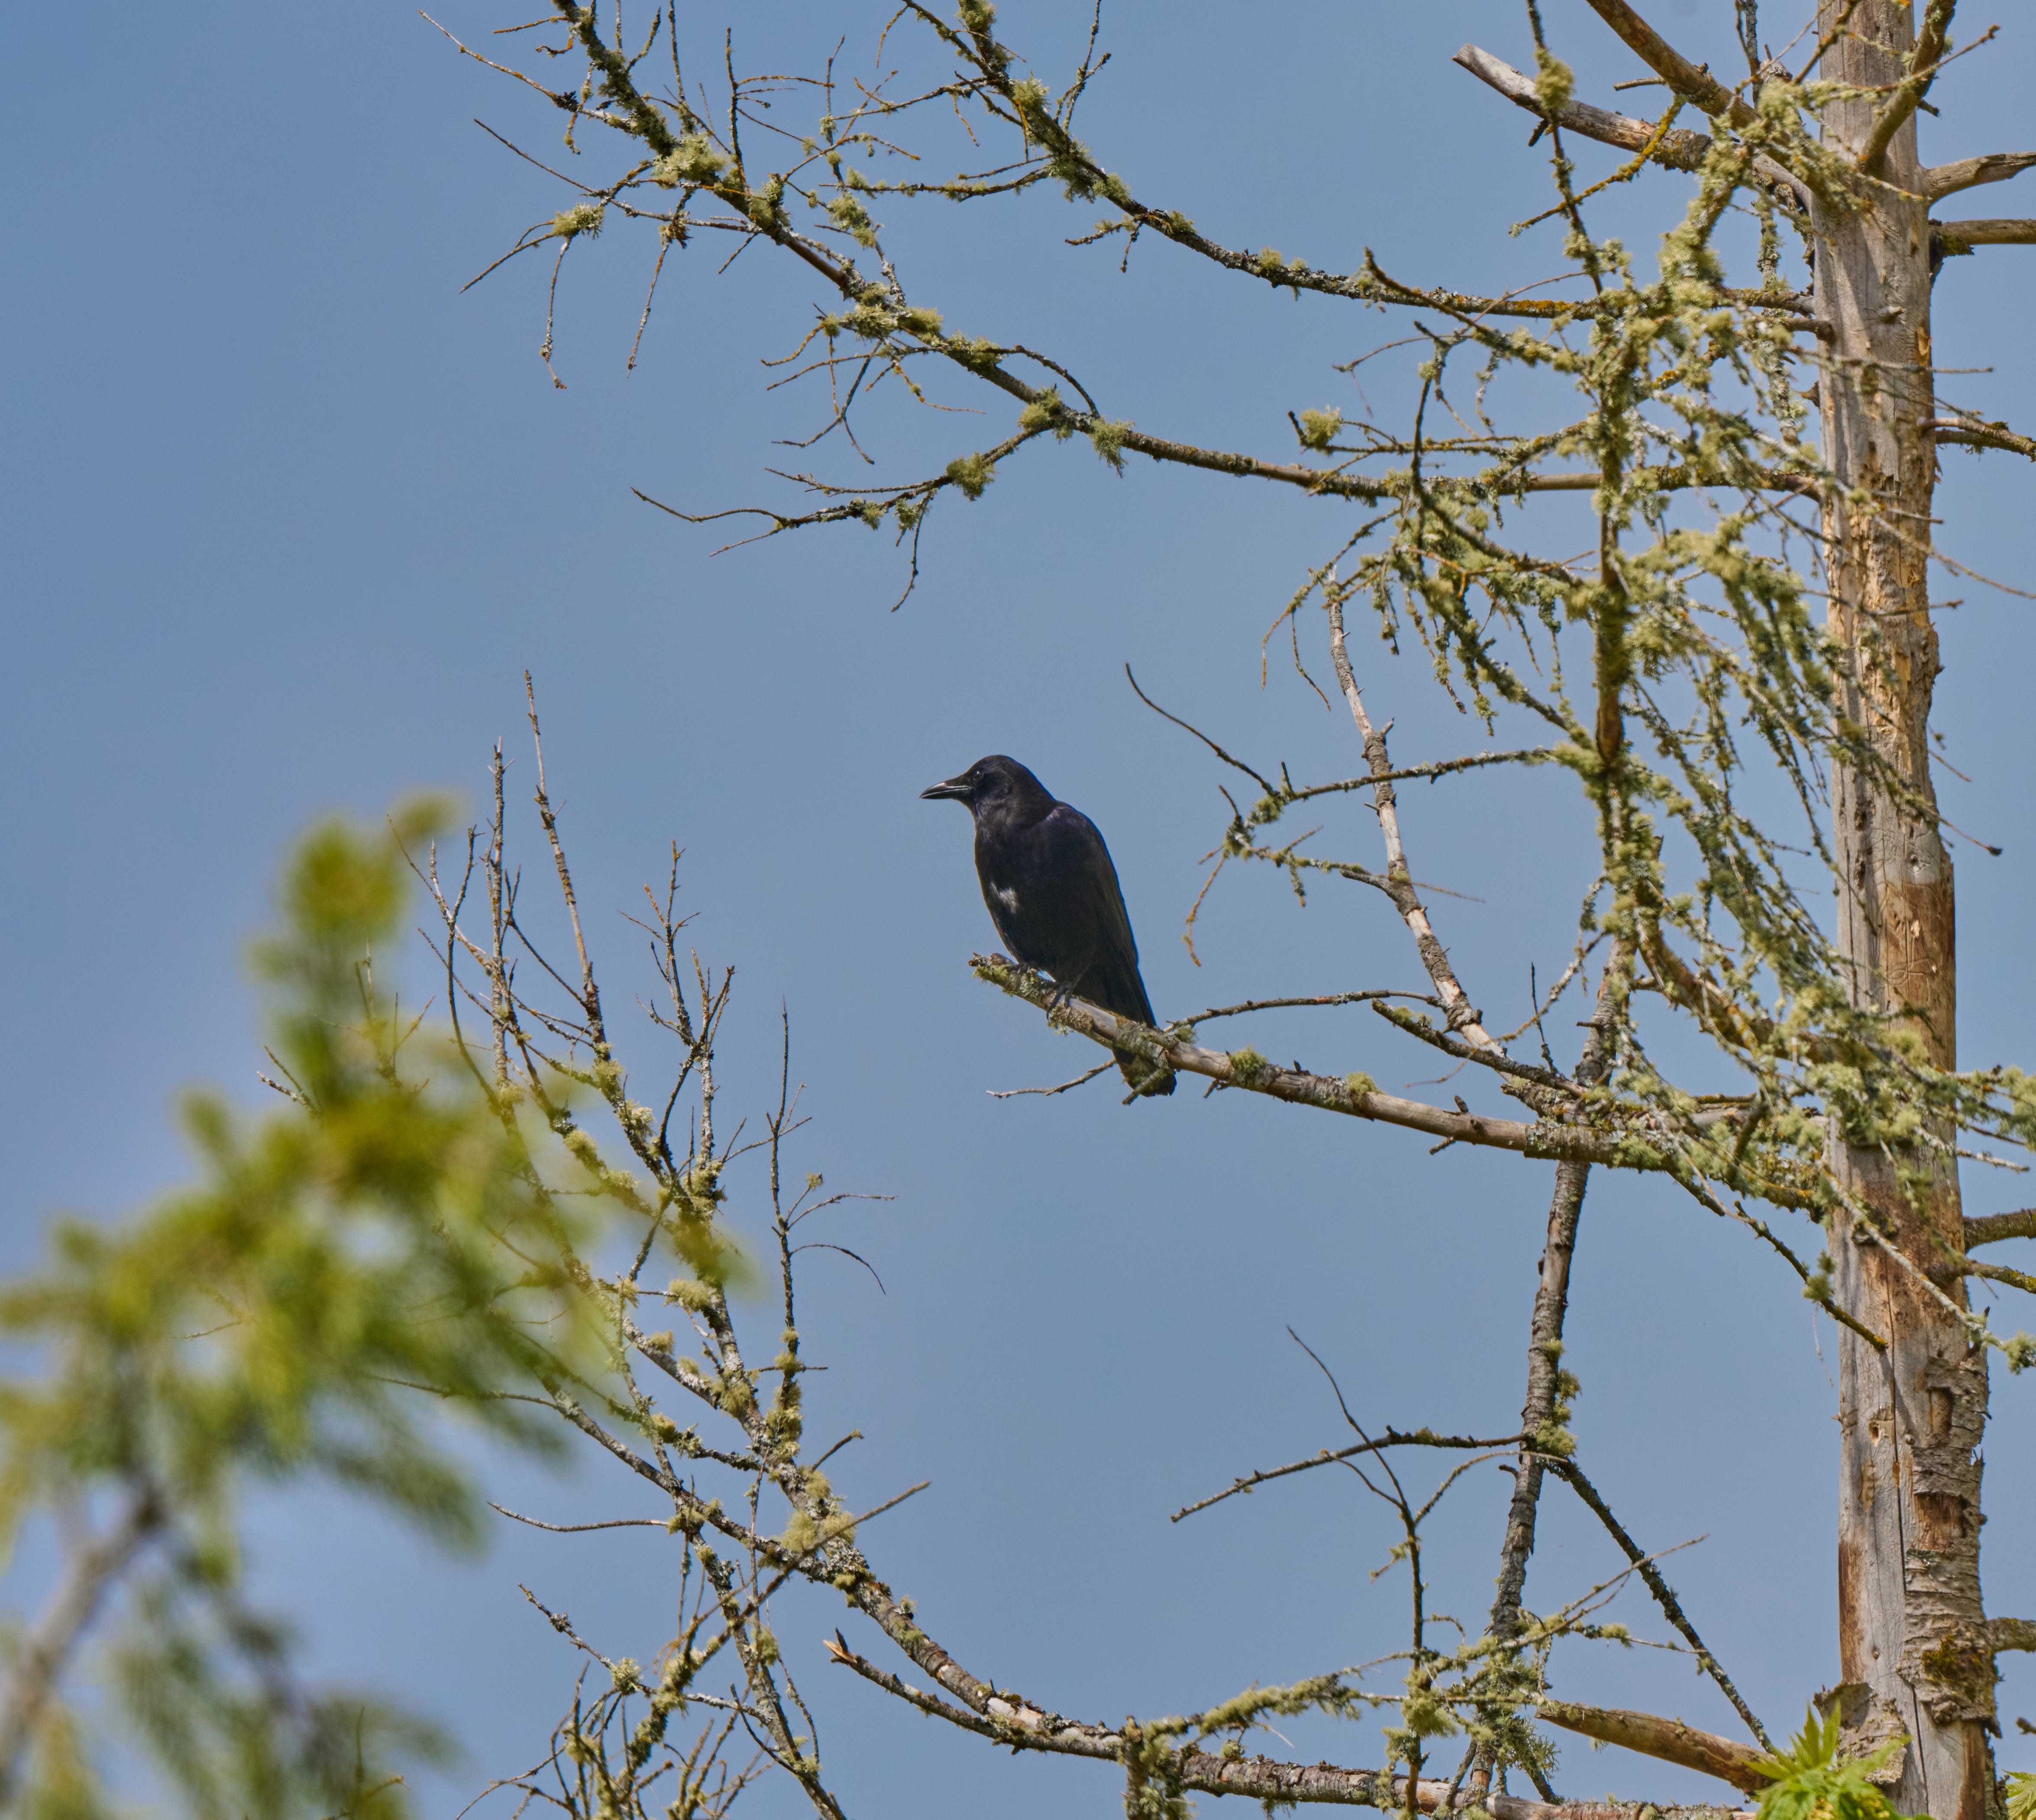
Brighten the shadows a bit to bring out detail in the darkest parts of the raven’s feathers;
Darken the highlights a bit to get a slightly more natural result (and a less washed-out blue sky).
The nice thing about good digital cameras is that they capture a wide range of brightness levels, and I can use software to shift the appearance of the image on a computer screen by eliminating the brightest or darkest pixels. Or just making the shot darker, or lighter, whatever feels right.
To show just how much ‘invisible’ data is in a digital photograph, I can recover almost all of the shadows from that ‘over-exposed’ initial image; this is a more natural take on the subject—but it’s heavily distorted in terms of color saturation and brightness levels. There is usually more than one right answer when developing a digital photo.
Tip: to find hidden data in a photo (that is, things that are too bright or too dark to display easily, or colors that are too muted), use the highlight/shadow/white/black sliders in (most) development software (e.g., Lightroom).