

Sunset Looking East
Plus: examples of lens color issues getting corrected

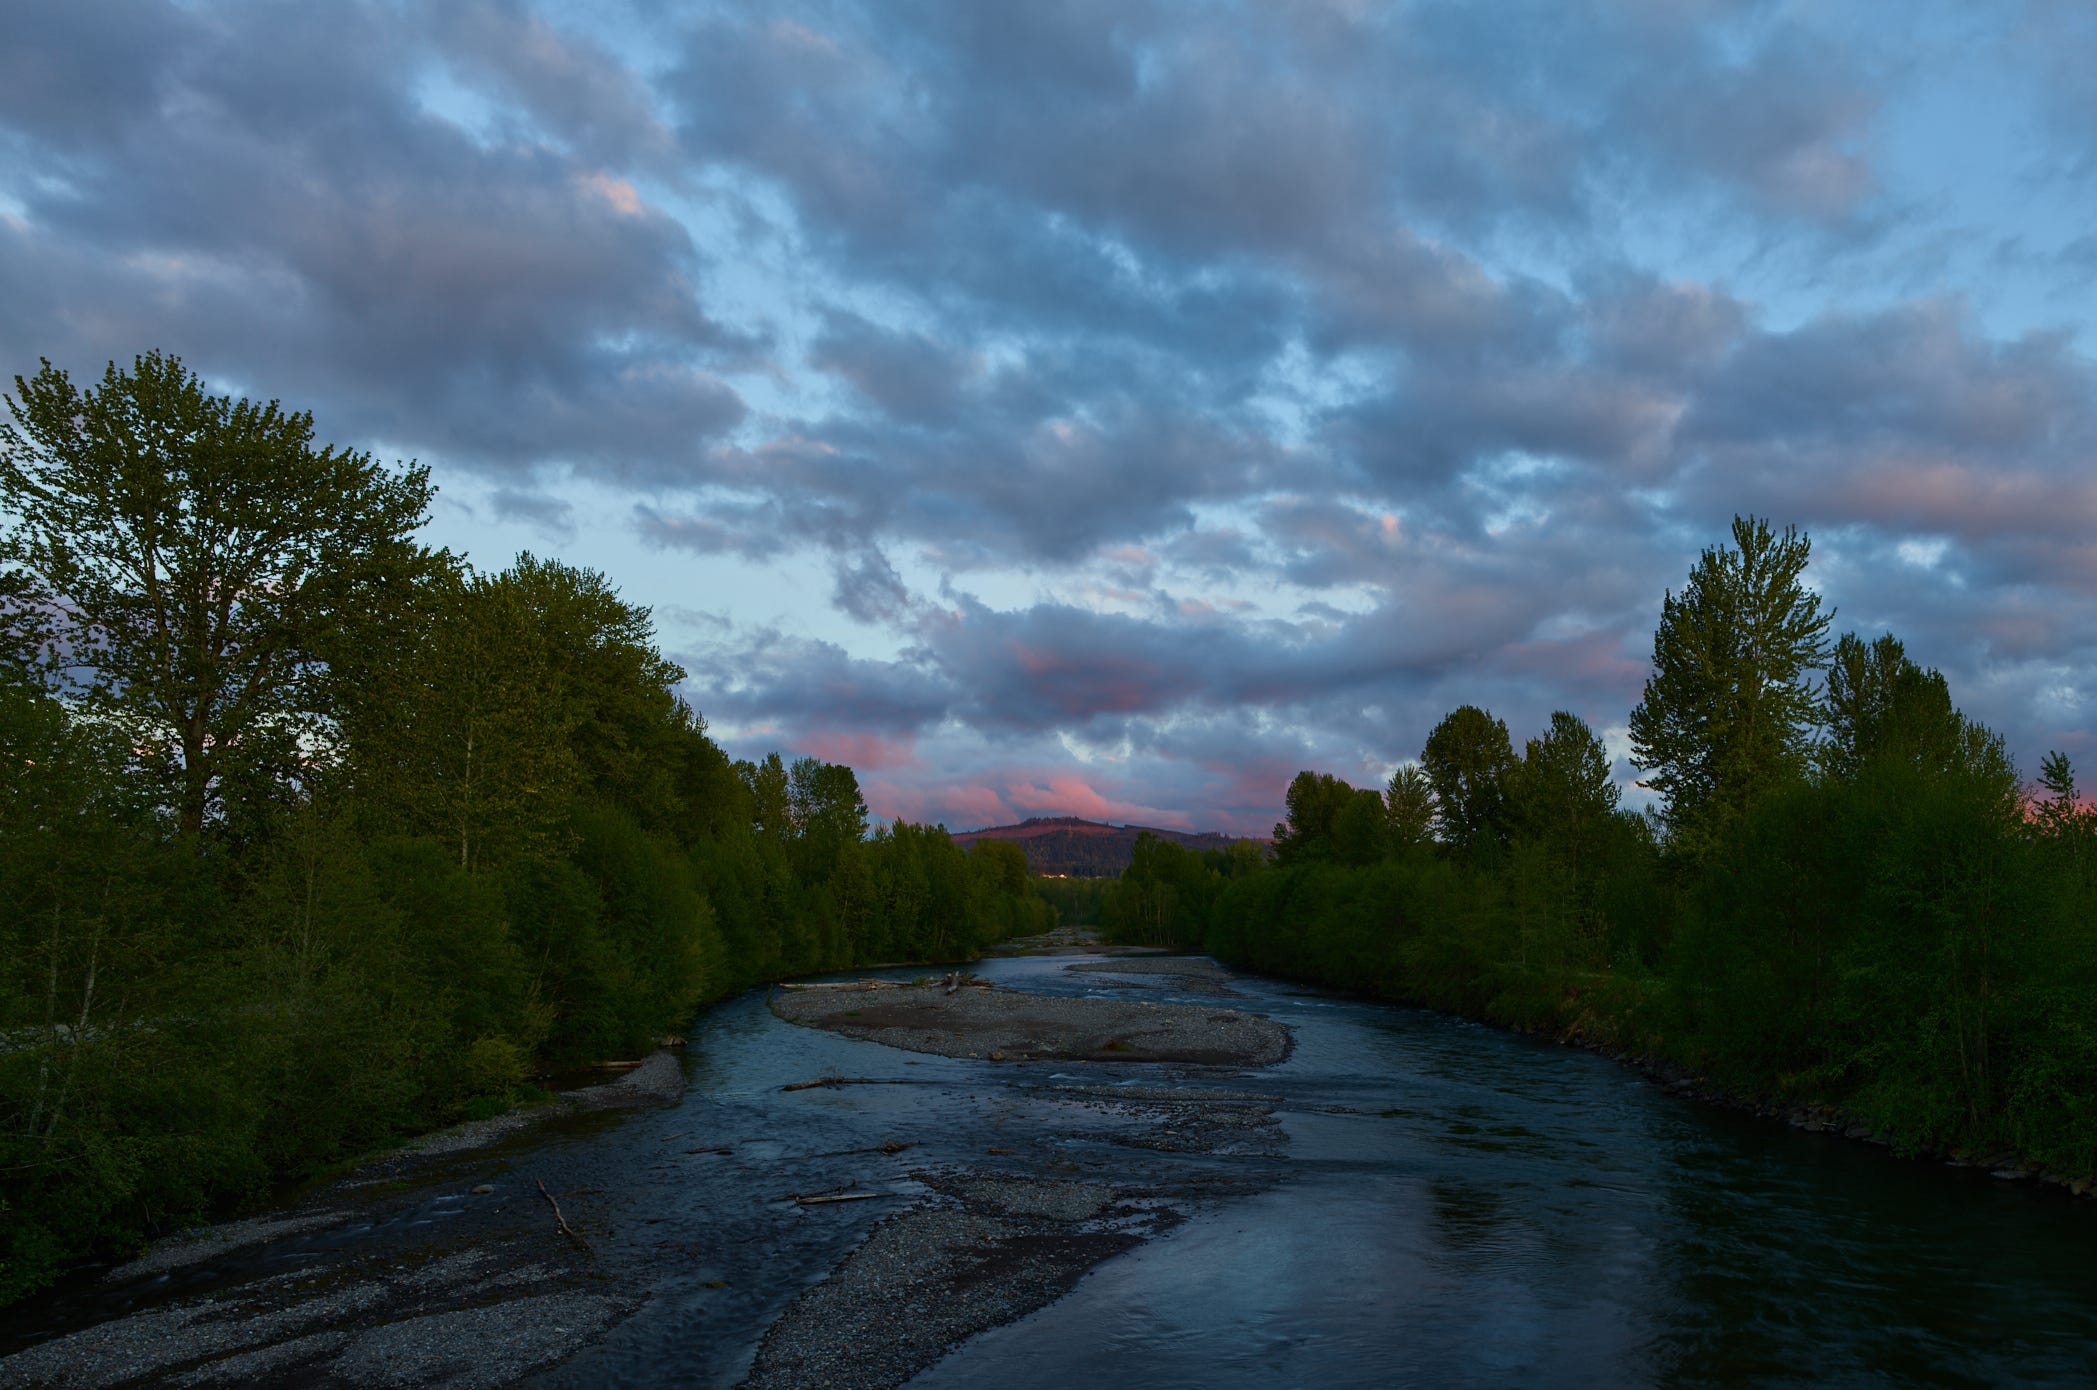
We had a wet day, a pretty typical misty rainfall for the Pacific Northwest. But the clouds started to break up about an hour before sunset, so I headed for one of my favorite viewpoints here in Orting, WA—a bridge over the Puyallup River.
I was about five minutes early, so I took some practice shots while I waited for the color to develop. It became clear that the color wasn’t going to be where I usually find it, toward the setting sun (the clouds just disappeared), but to the east, where the clouds remained.
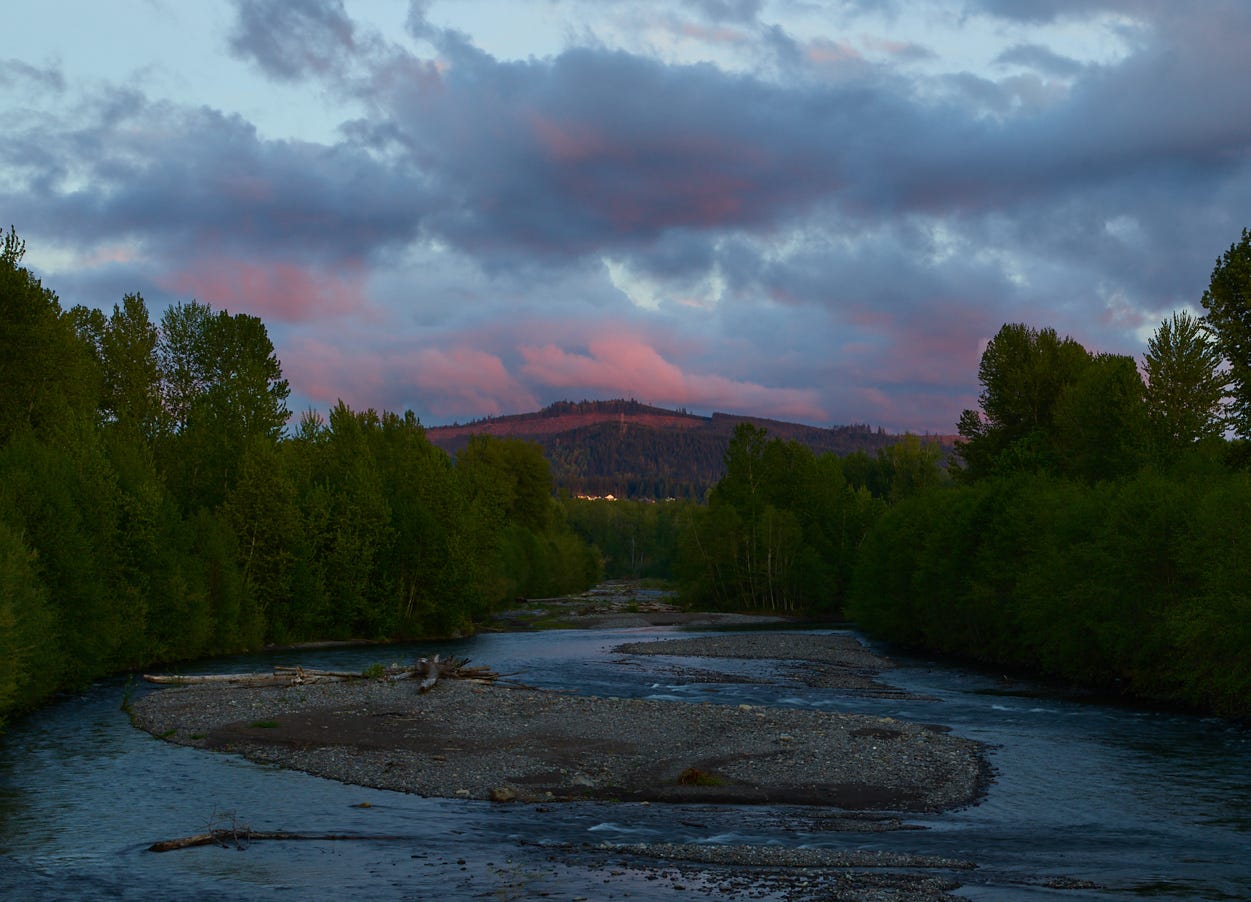
The shot above was fairly well after sunset; the color was actually fading, but the sun’s rays found a path to some scud clouds to my east. For mysterious reasons, the red suddenly got very bright and I grabbed this photo. Here is a crop of just the central area:
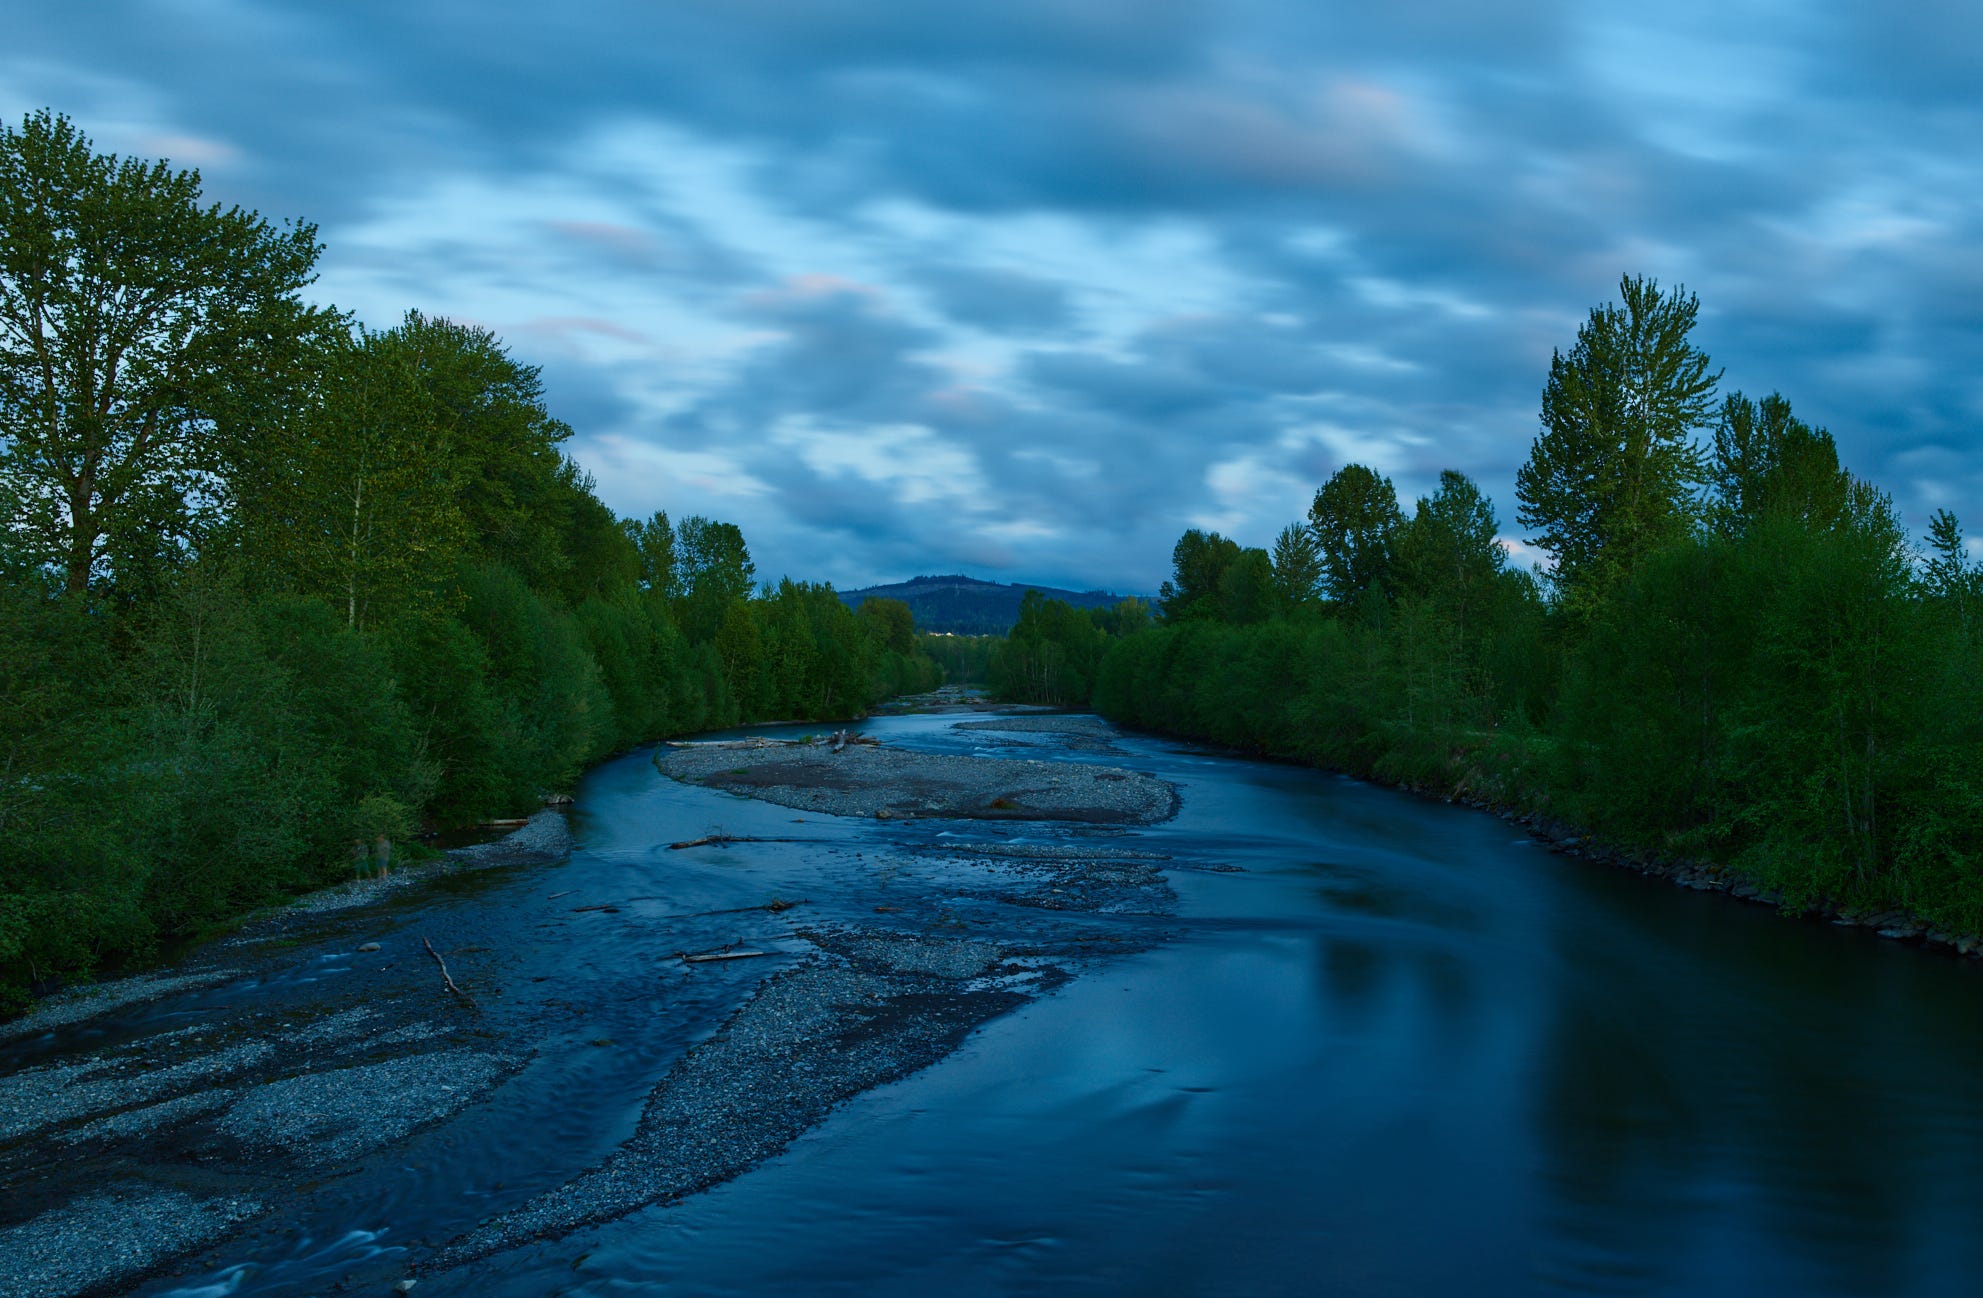
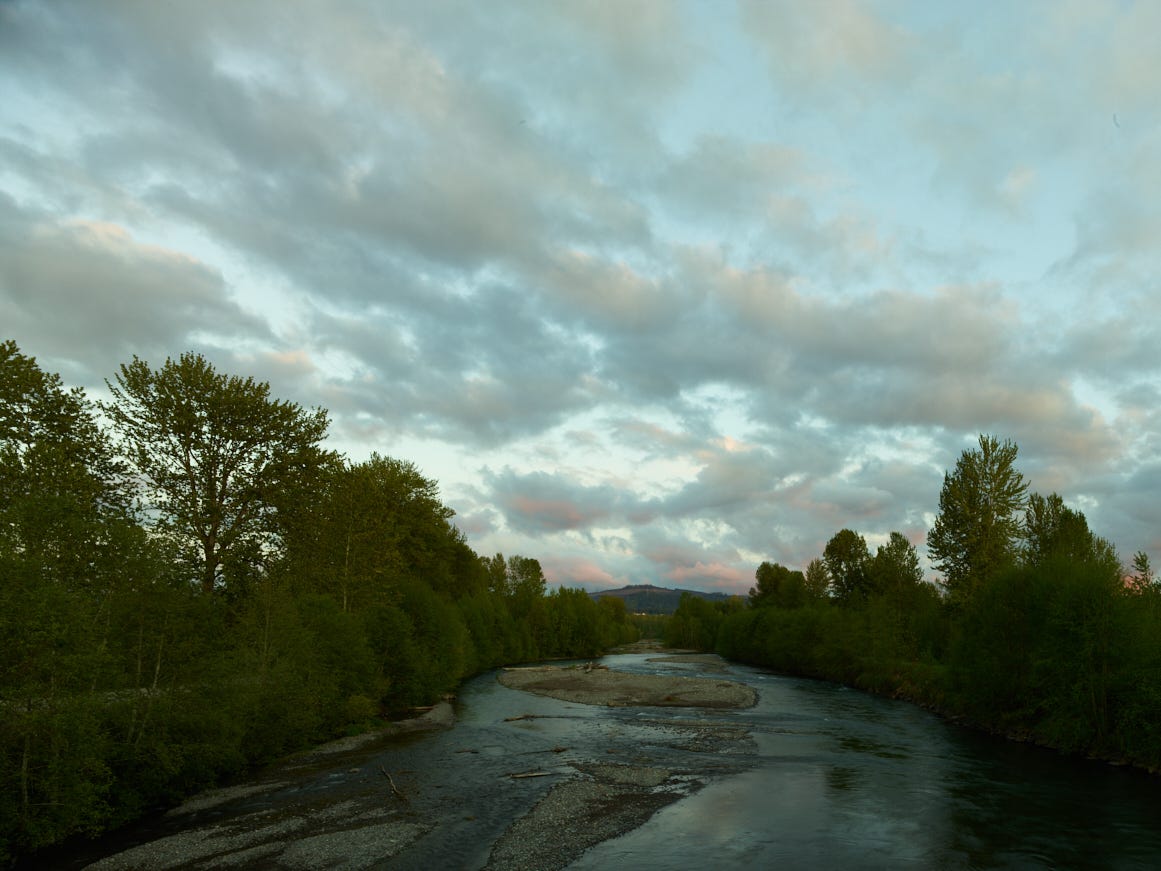
I hung around for a while, experimenting with neutral density filters (a dark filter that reduces the amount of light coming into the lens by simply blocking most of it). The red highlights were mostly gone, and I was curious to see what effect longer exposures would have on the texture of the river water. This was the result of a 20s exposure with a 10-stop neutral density filter (that is, the exposure had to be 10 stops longer than without the filter).
A few things are obvious different about this photo:
The overall tone of the image is more blue. This is due to the color of the twilight sky.
The white-water areas have a smooth, hair-like appearance.
The flows of water extend much further, because the ripples from these flows are lighter than the surrounding water.
Water with minor ripples is now smoother, almost translucent looking, and the reflections of trees and sky are a bit clearer.
The clouds have moved during the exposure, and their outlines are fuzzy as a result.
The clouds look the least natural from the long exposure, but they are OK if you know what they are. The river effects are wonderful, and the overall blue cast suggests what this really was: a twilight exposure.
Technical info: The first photo was shot for ⅓ of a second, at ISO 50 and f/16. I used a fairly small aperture to get good depth of field (some early test shots at f/11 did not include the near part of the riverbed in focus). I used the 32mm (my new favorite from wide angle with the medium format digital back) on the Cambo technical camera, and because I failed to check, I had a 10mm shift to the right. Fortunately, I had an LCC image from the previous outing to use to correct.
So let’s talk about LCC (Lens Cast Correction). It is a feature of Capture One, the software I use to ‘digitally develop’ my images.
With wide angle lenses, the light from the lens hits the digital sensor at a tighter angle as you move toward the edge of the sensor. This angled light passes through various coating on the lens and on the sensor, and the result are color shifts that can be quite intense. See the sample photo below.
Another problem with wide-angle lenses: the light coming through the lends gets dark around the edges. Not as much light get through at the edges, so the image is bright in the middle but gradually gets quite dark as move out from center.
These issues are specific to certain types of lenses. Just about all 35mm lenses are of a different design than the one I used earlier tonight (they are retrofocus lenses, which use optical tricks to create more space behind the last lens element and the focal plane). So this type of problem occurs mostly with view camera lenses. It’s a trade-off; a lens that can limit the space between itself and the film plan can be made very wide-angle with less complexity. A retrofocus wide-angle for 35mm is a true masterpiece of design, but often has bothersome compromises in the design.
Here is a raw image, before it has been corrected for weird color and edge darkening:
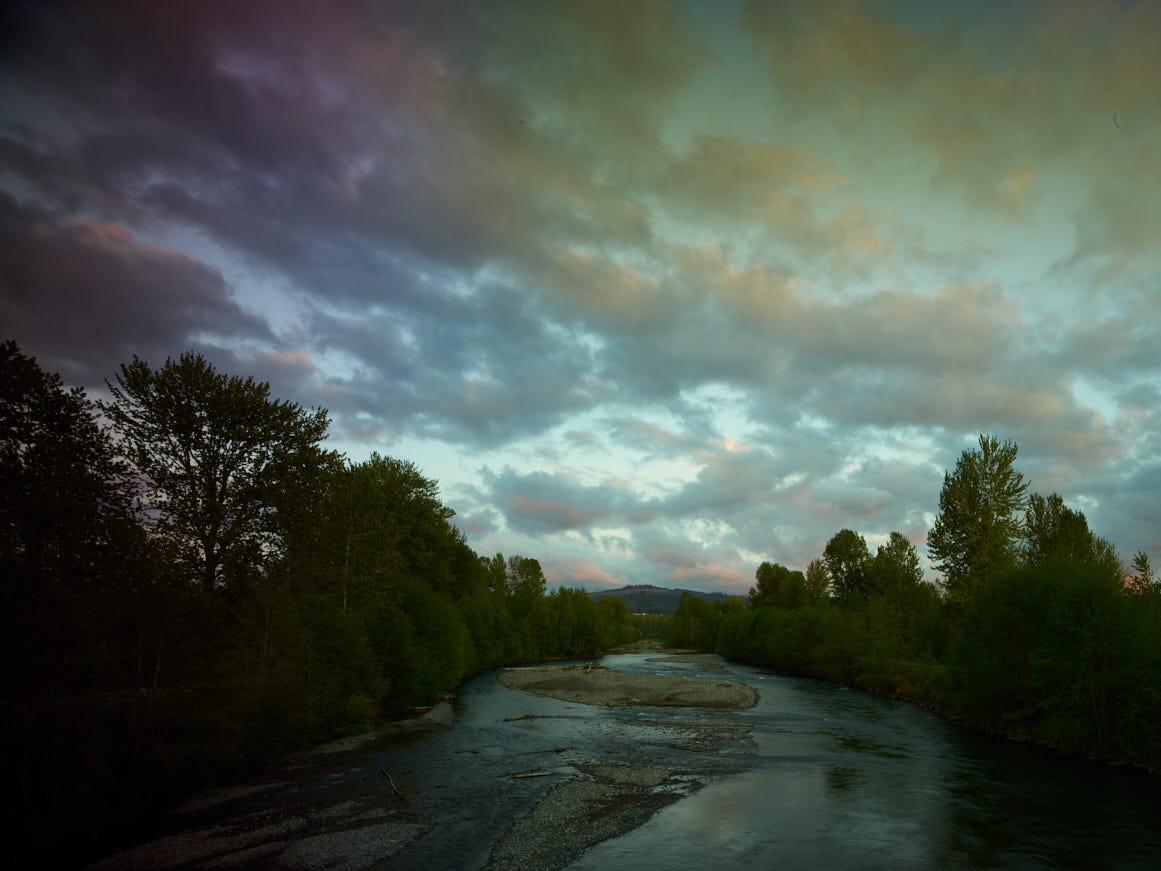
The first time I saw this, I did not expect it, and I totally freaked out! I was suddenly thinking about how much I had spent on the lens and THIS was what I was going to get?????!!
But I learned this is to be expected, and that it can be corrected. The trick is to attach a diffuser in front of the lens (think of a 6x6-inch square of white plastic), and add three stops to the shot (the diffuser blocks some of the light), and then take an image without changing anything on the camera. You get this:

The dark spot in the middle is a dust shadow, which will also be corrected.
The above image contains just the problems because we prevented any of the image making it through the diffuser. The darkening at the top and right is clearly shown, dust is clearly there, and the color changes due to interactions with the filters and coatings is also clear.
Capture One lets me apply the LCC image and the original image to get a raw image ready for digital development:
The RAW image does need some work: the cast is somewhere between teal and green (The colors from the wide angle effects presumably fooled the camera about the white balance); the trees are too dark; the sky it too light. After correcting those obvious issues, I then worked on more minor issues, such s making sure that the detail in the trees was visible without making them unnaturally bright.
Note: the LCC corrections were also used on the twilight long exposure; the fact that it was a long exposure doesn’t change the need for the corrections.
Note: the lens used for tonights exposures was the 32mm Rodenstock Digaron-W HR.
I even like the raw photo. Gorgeous, and great composition.