

Wide Angle Lens with Minimal Distortion
The Rodenstock 32mm F/4 Digaron HR-W shows its abilities

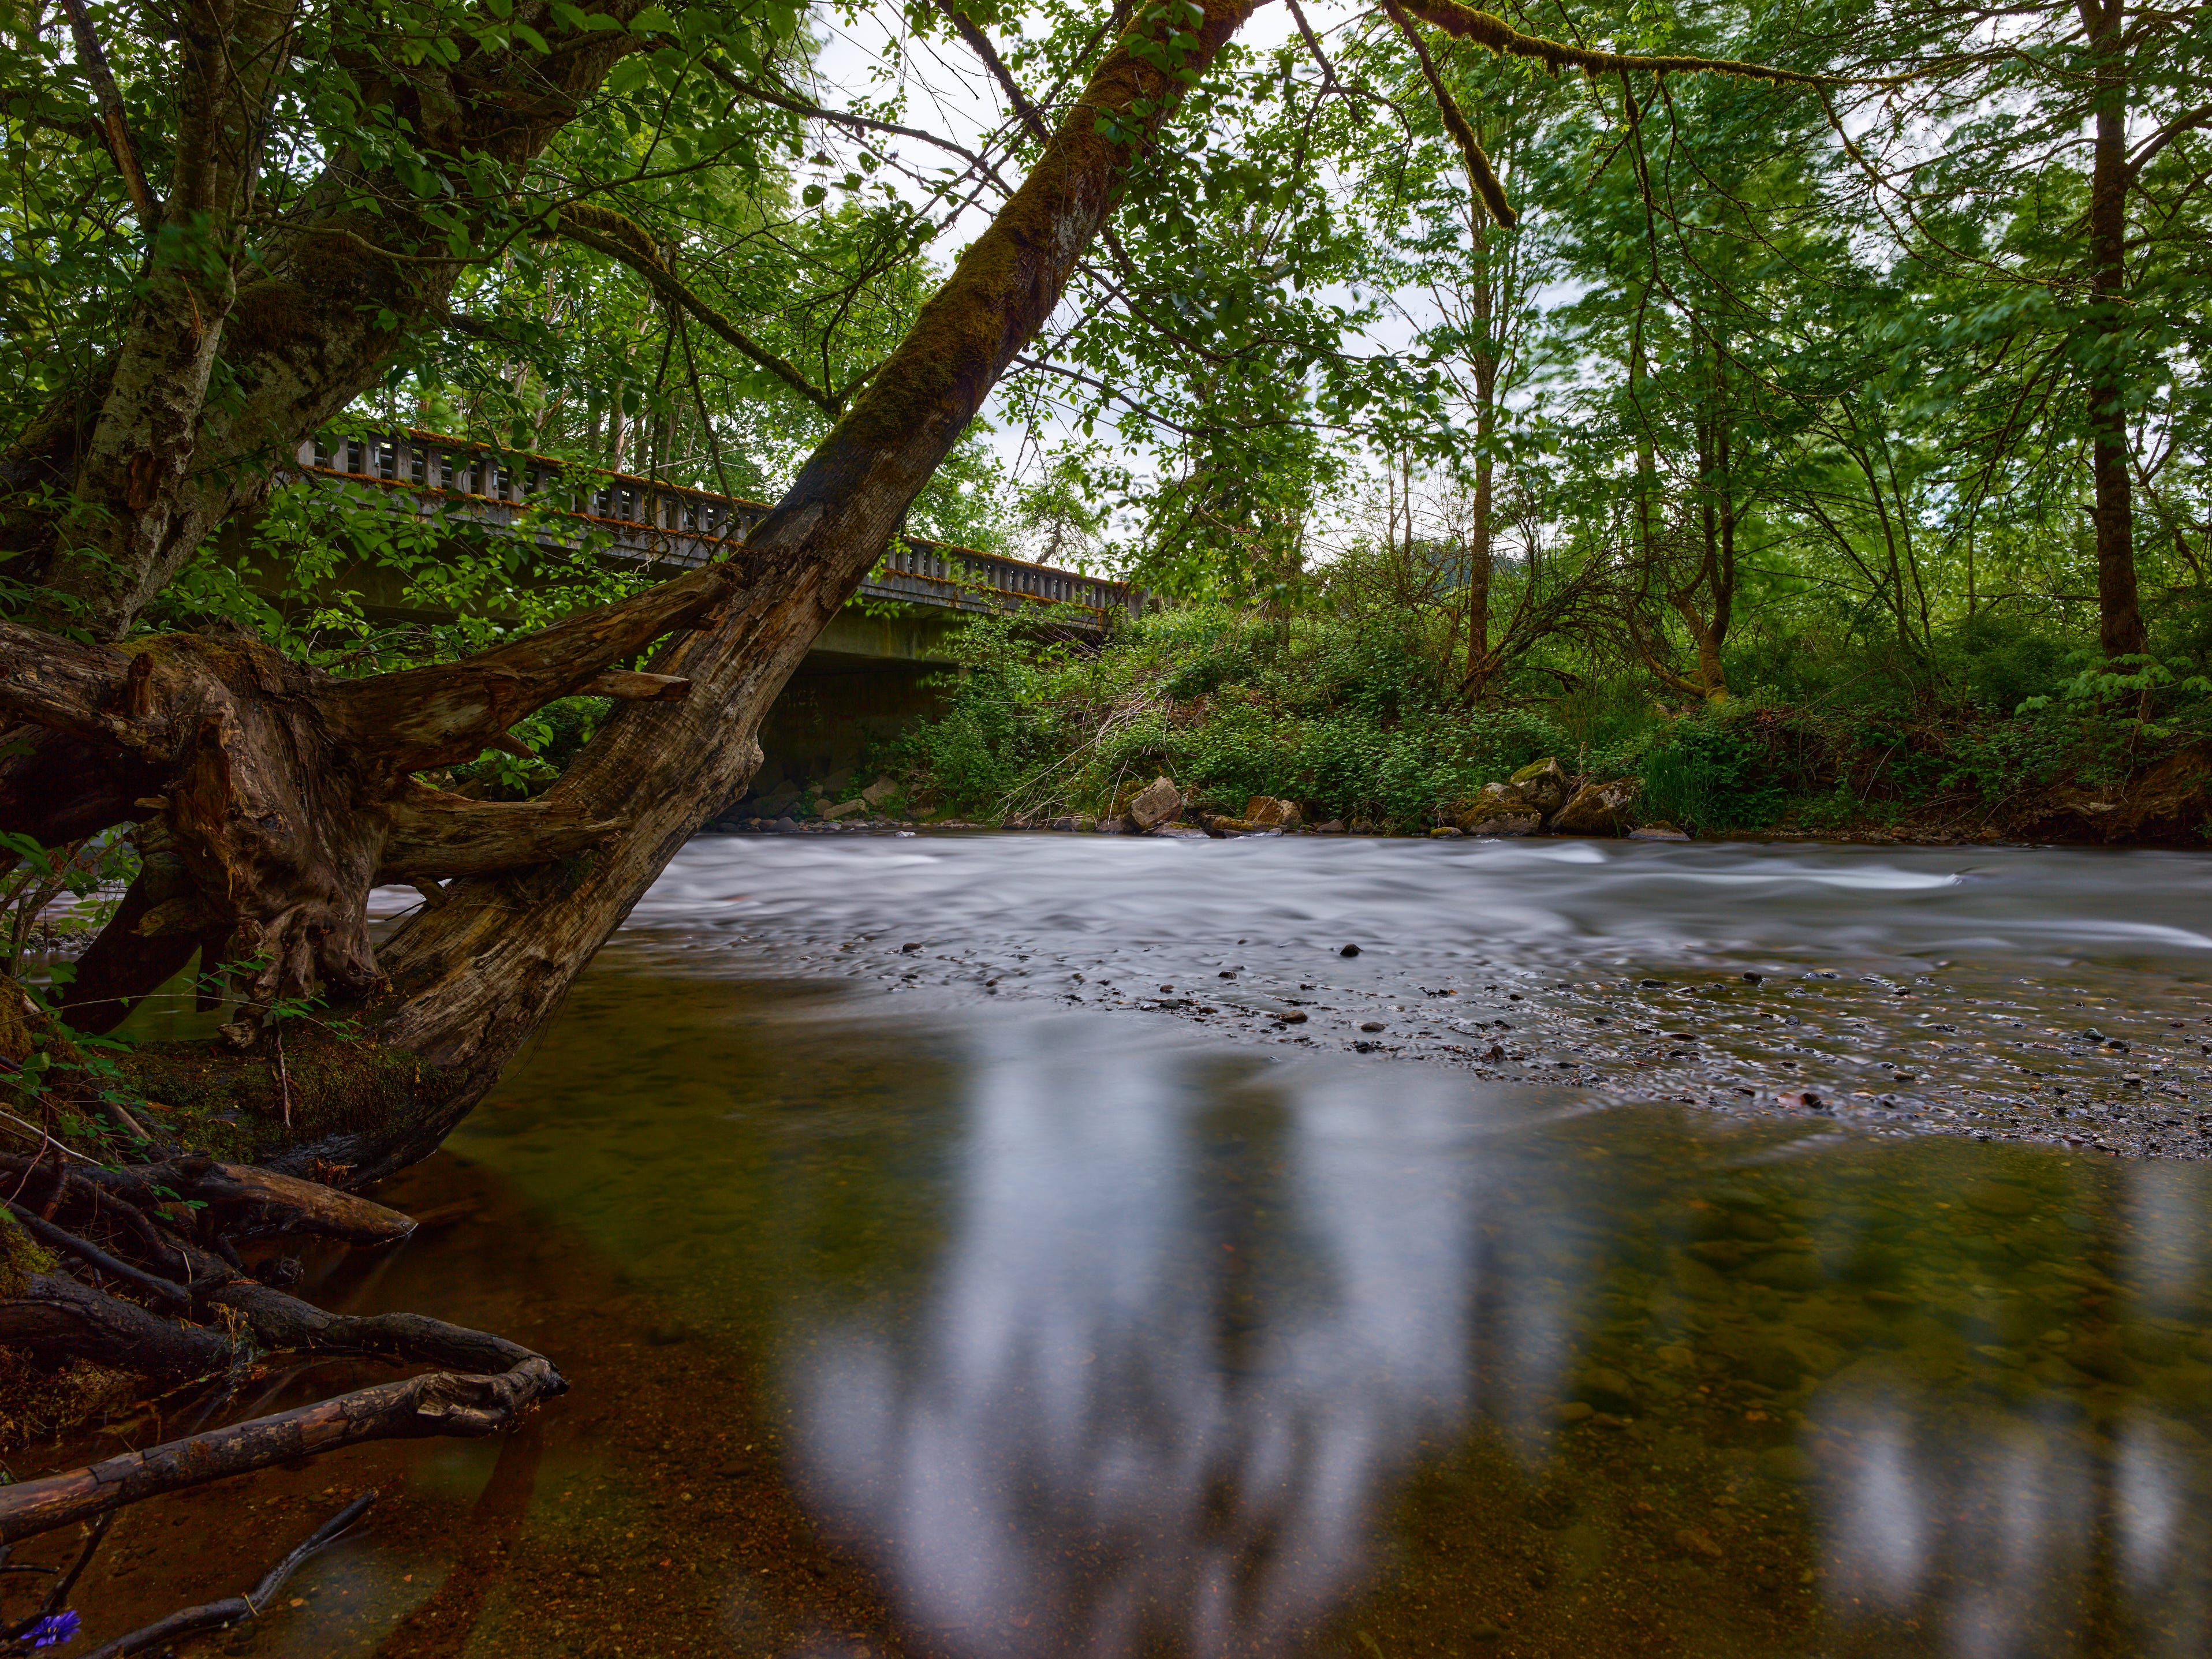
Same creek, different lens.
My previous attempt was with a 17mm Canon tilt/shift lens; this was shot with a Rodenstock 32mm lens. The previous work is here. Both lenses were mounted on the Cambo WRS-5000 with IQ3 100 digital back.
Here are the things that are different:
The 32mm lens has a narrower field of view, so the optical designer can control distortions more easily.
The 32mm lens is a more advanced design made to higher tolerances. It simply a better lens overall.
The 32mm lens is sharper, so even though there is a very small loss in sharpness in the corners, it’s not as noticeable and it’s not nearly as bad.
This means that the entire image of the 32mm stands up well, and no cropping is necessary. There is a small amount of distortion in this lens; I corrected it using a simple distortion tool in Capture One. One thing to notice: the bridge in this version is much straighter (as it is in real life).
There are also some differences in how I took this shot:
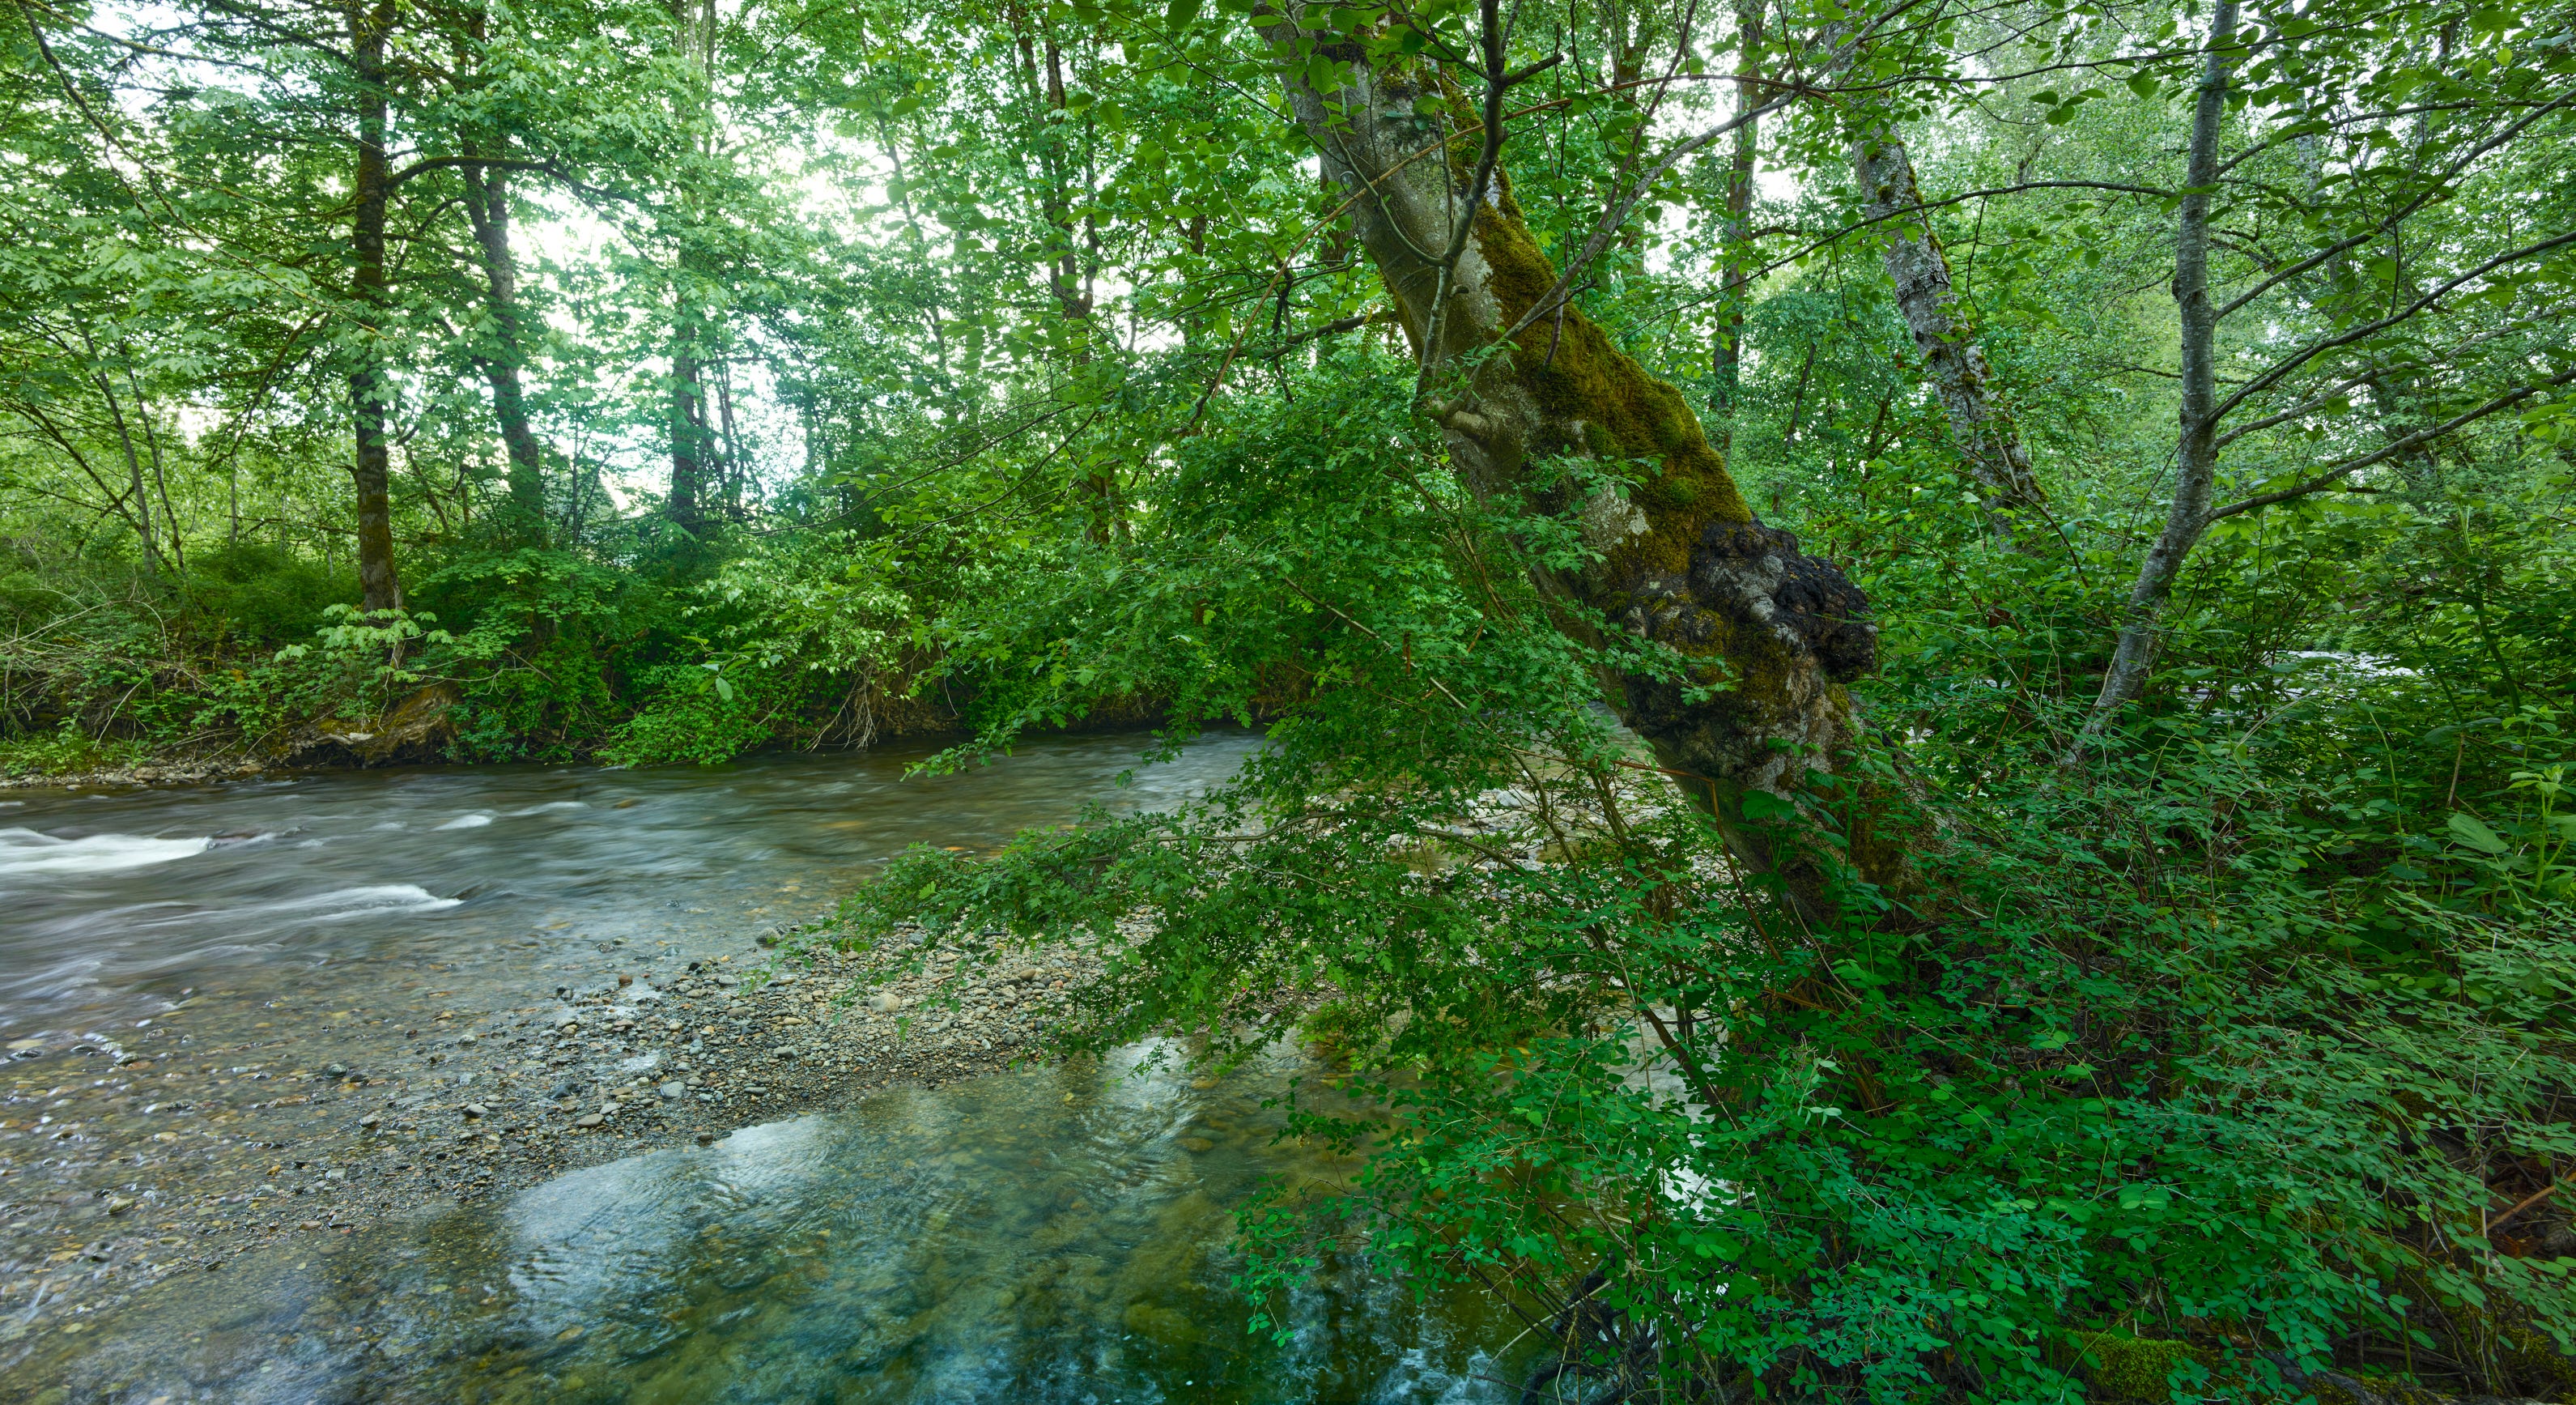
The camera is lower, with the camera about 2 feet above the water.
I used a neutral density filter on the lens, which allowed me to take a very long exposure (30s for this one) at a reasonable aperture (f/11). I took other images at longer exposures and smaller apertures as well, but this particular one seemed to be a nice photograph.
Probably the most accurate way to look at this as a way to ‘correct’ distortion is to note that a high quality lens generally tends to beat a less expensive one in limiting distortion. But the narrow field of view helps, too, and budget always plays a roll in equipment selection. Personally, I’d rather have fewer lenses with higher quality if possible. I enjoy photography more when the equipment is good enough to make me learn things in order to push it to its limits.
In the previous examples, doing a panorama caused the output to have an oval shape; the software was compensating for the heavy distortion around the edges. The result of a panorama with this lens were much more straightforward. It is a simple rectangle.
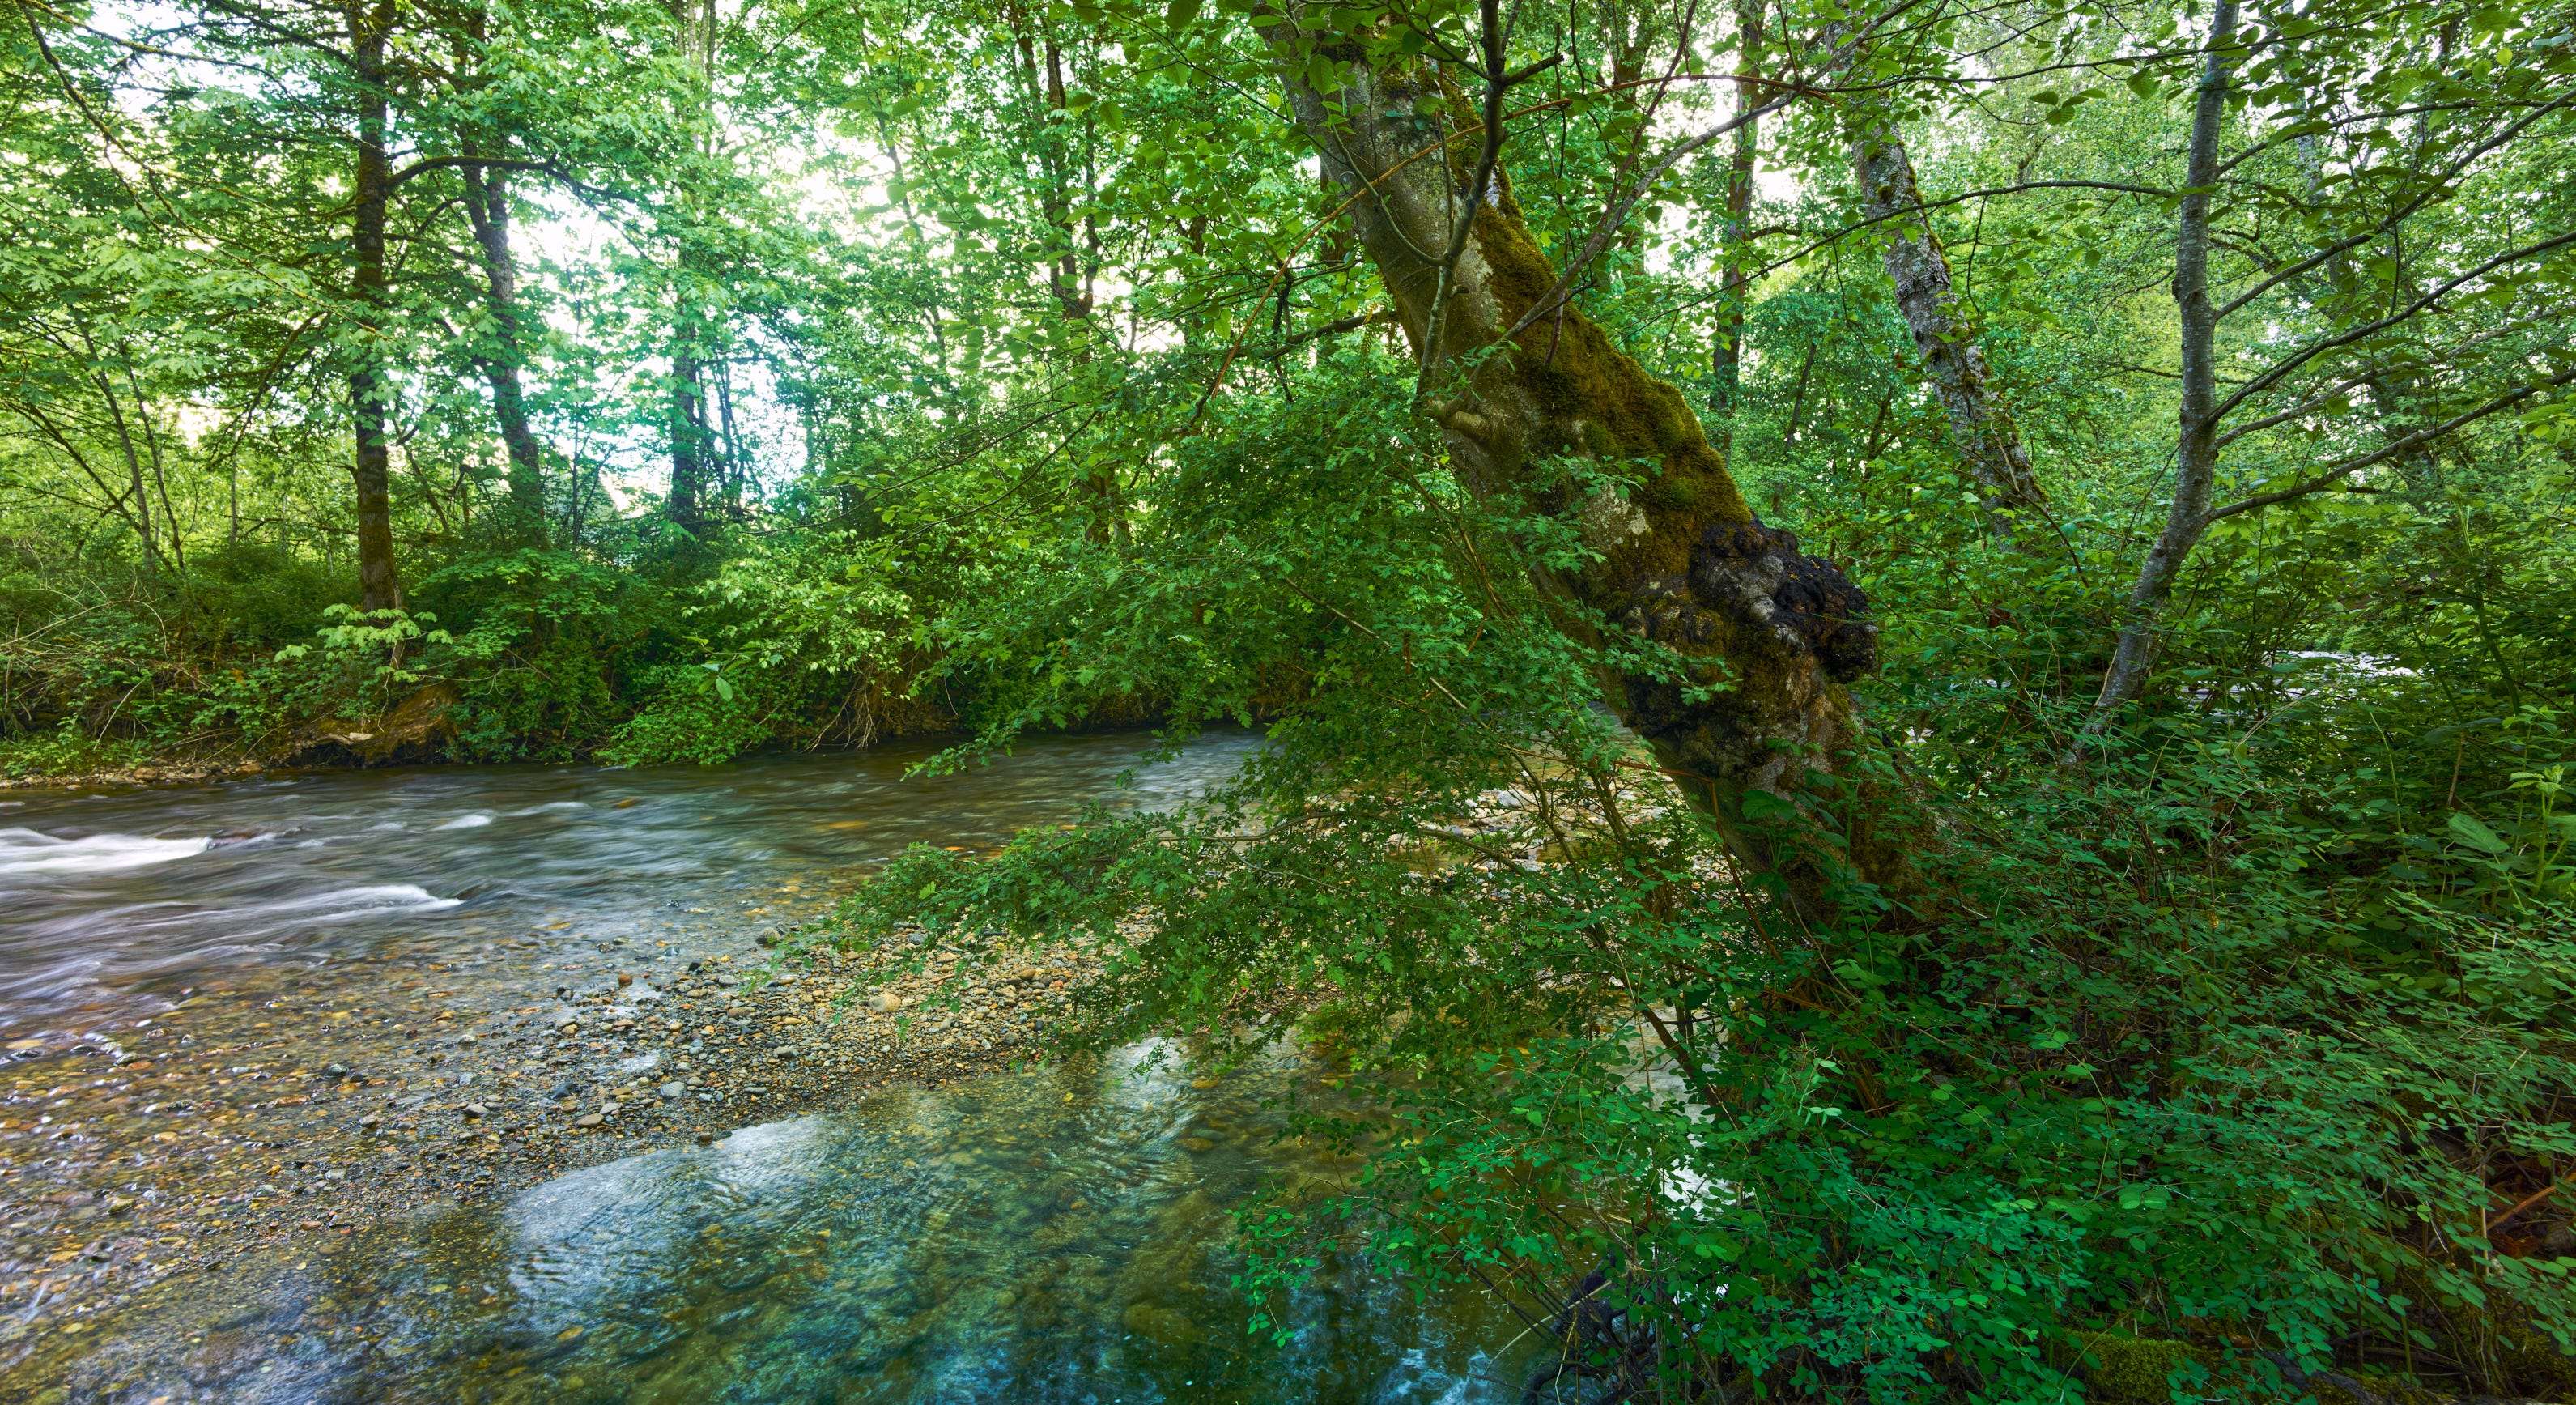
Here is another version of the above image. I have added saturation to the red/orange/yellow colors in the image. Notice how this provides more depth and structure to the image. If I were painting this, I would choose this type of palette for exactly those reasons. This also provides a subtle clue to yet another way to deal with problems in an image: distract the viewer by leveraging the strong points of the image. In this case, structure, sharpness, and a rebalancing of cool/warm colors helped.
Conclusion: while it’s not the easiest way to eliminate distortion, spending more money for a better lens is an effective approach. But simply going wide instead of ultra-wide is also a good way to reduce the amount of distortion you have to fight, er, work with. Even in the world of 35mm format, where there are in fact a number of great ultra-wide angle lenses, they do cost twice as much as the cheaper ones. But the performance is excellent. There is a saying, “less is more” but it was not made up by a photographer.