

With and Without Neutral Density Filter
A neutral density filter lengthens exposure time, with major impact on clouds, water, and anything else that moves.


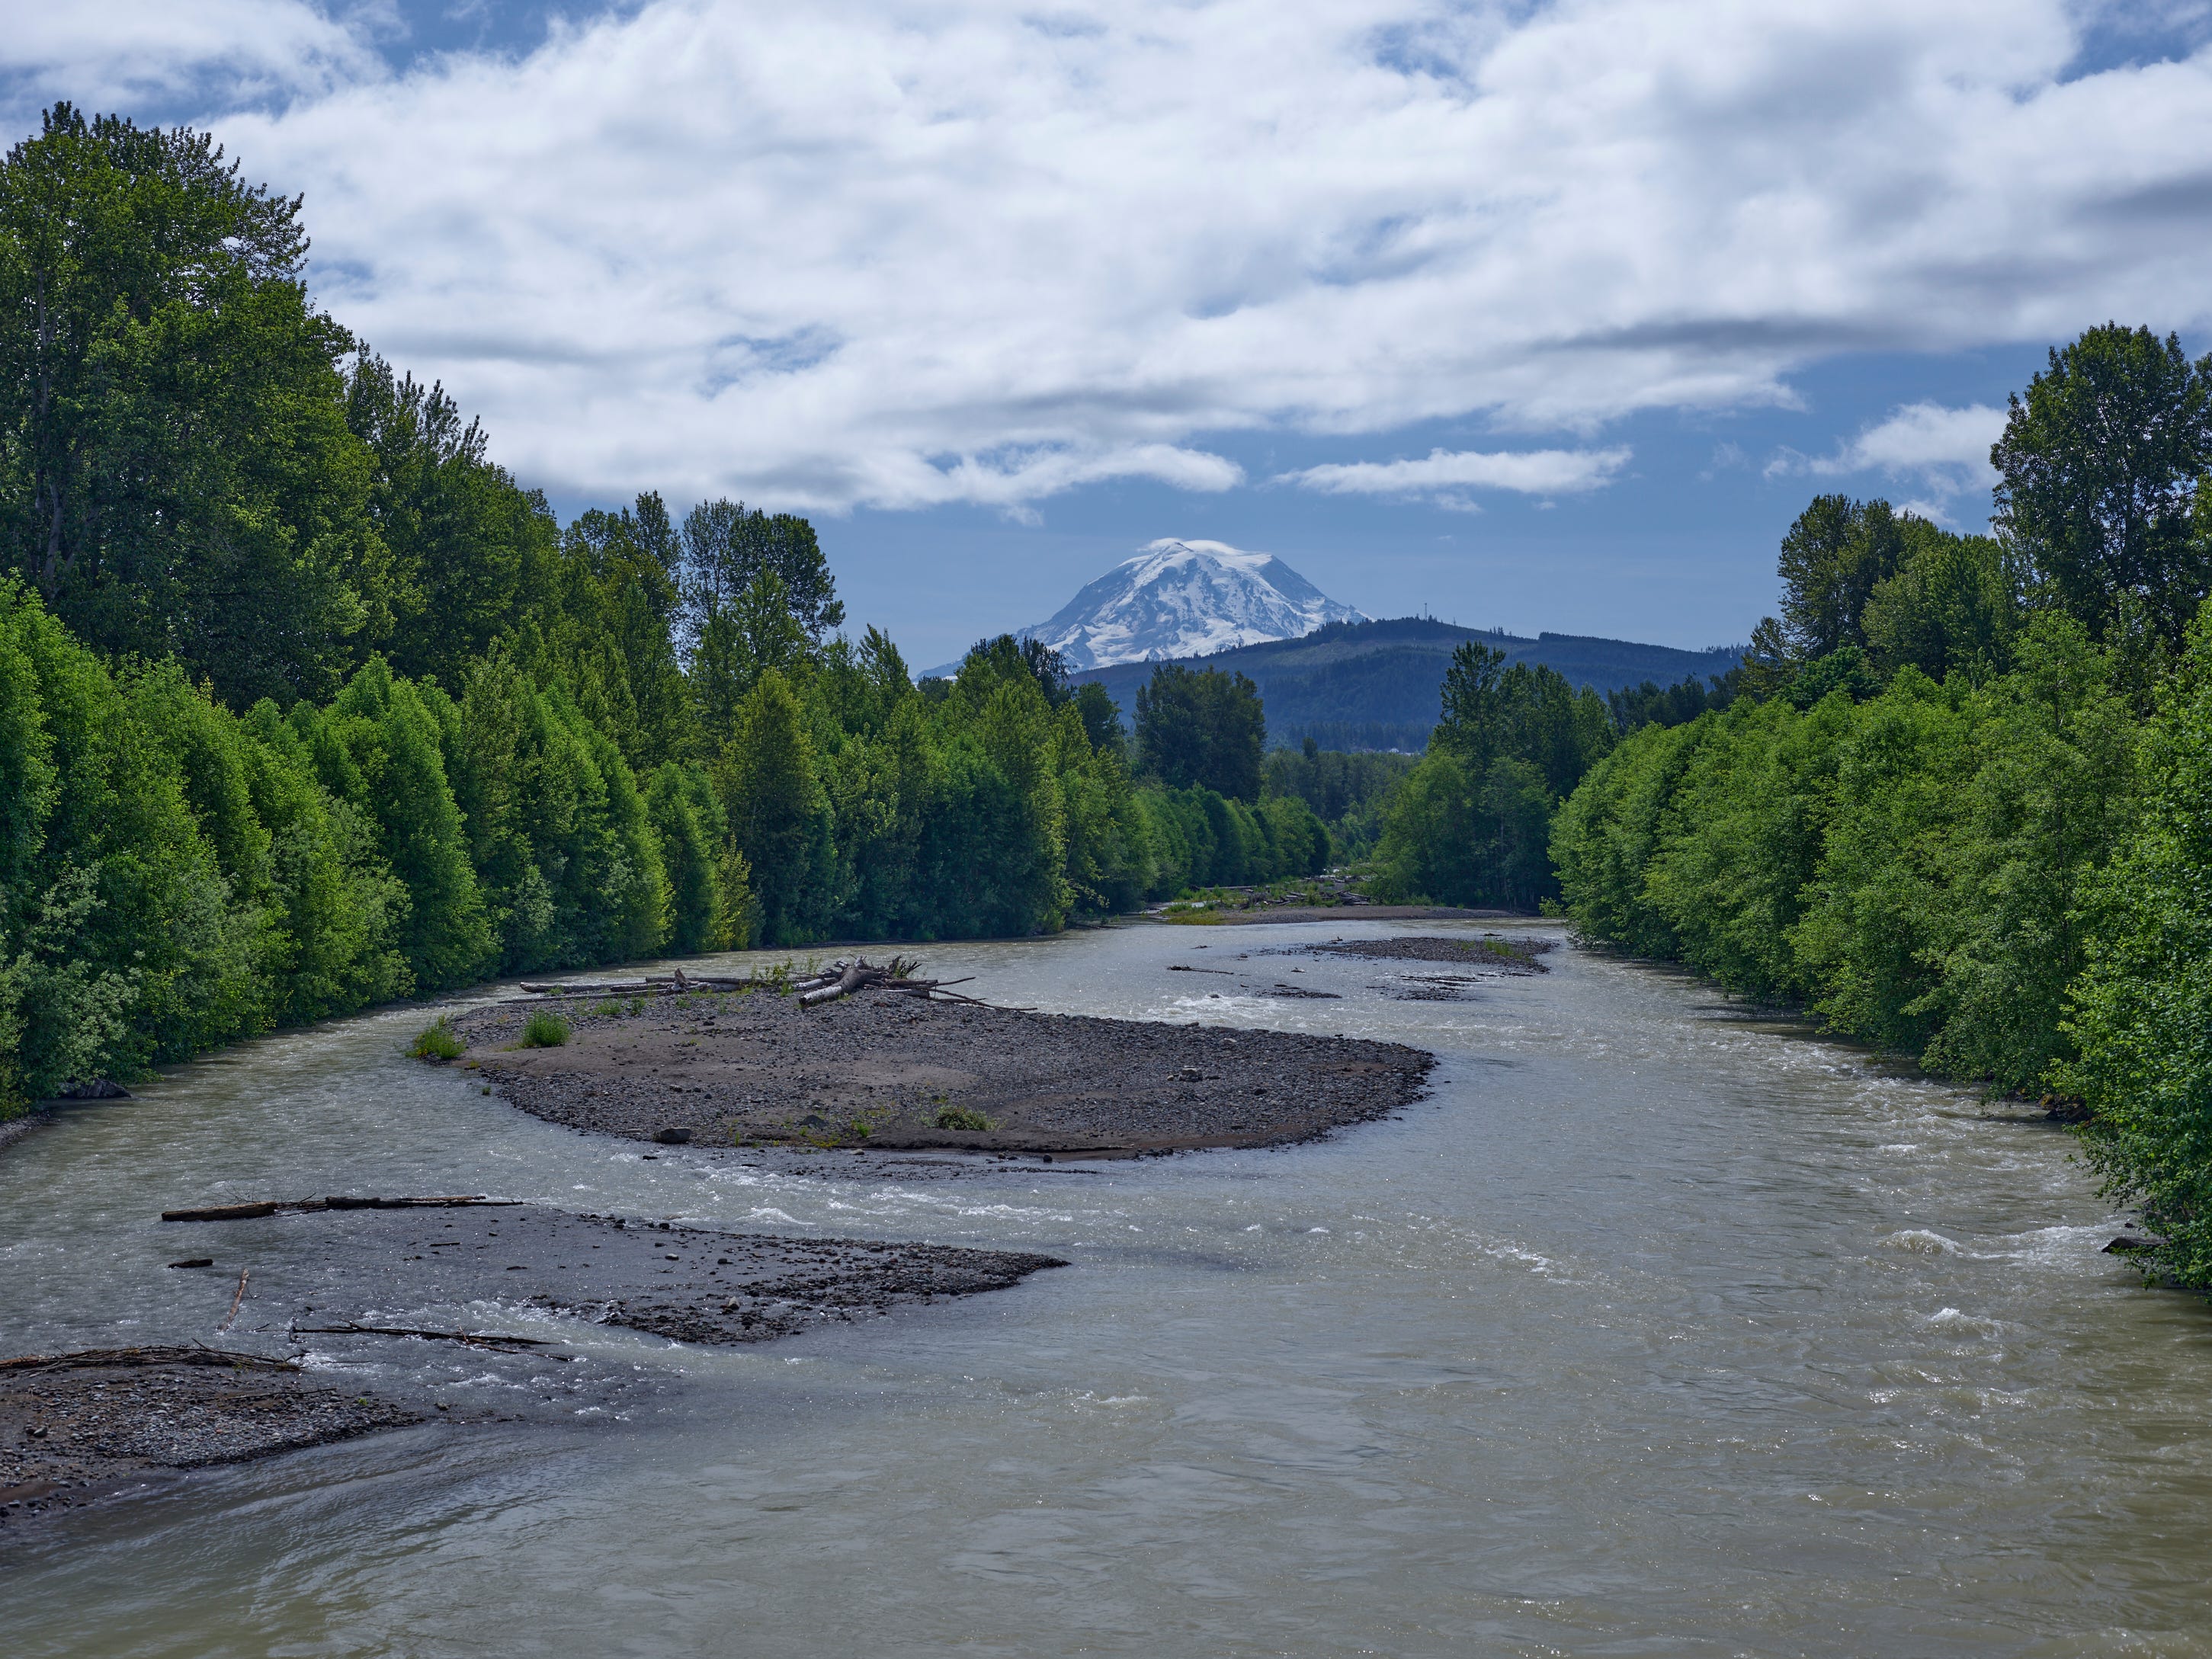
The above shot of Mt. Rainier is a ‘normal’ shot, although it does use a polarizing filter to darken the sky a bit. It has good color, good contrast. It was a little dark because Substack insists on darkening my photos when I post them, but I created a new image, which was too bright, and it looks OK.
For reference, this is what Substack does to that image:
Very noticeably darker. Grrrr…
On the plus side, the polarizing filter also seems to have improved the contrast between rock and snow on Mt. Rainier. This was a very carefully chosen exposure after testing how to balance bright clouds and dark shadows. The trick is to shoot at least one stop darker than what a light meter or camera would recommend. (I typically shoot about 1.3-2.0 stops underexposed now, unless I’m in a situation where I need to do something different.)
This preserves detail in the brightest of clouds, and the camera I use has enough dynamic range to also have recoverable detail in the shadows.
The light was constantly changing for this shot, so I used Mt. Rainier as the exposure target. It’s distant and bright and will easily wash out of the shot is not underexposed. The shot is 1/500th of a second (it was shot on a bridge; fast exposure help avoid problems from the bridge vibrating from traffic), ISO 50 (best detail), f/6.3 (a compromise to allow the fast exposure: fairly open, but closed down enough the both Rainier and the trees are at least close to focus.
As shot, there were some issues: the camera did not do a great job on the white balance, and I had underexposed to meet my requirements for a clear image of Rainier as well as not-blown-out highlights and recoverable darks. It was a tight squeeze. This is what the image looked like straight out of camera:
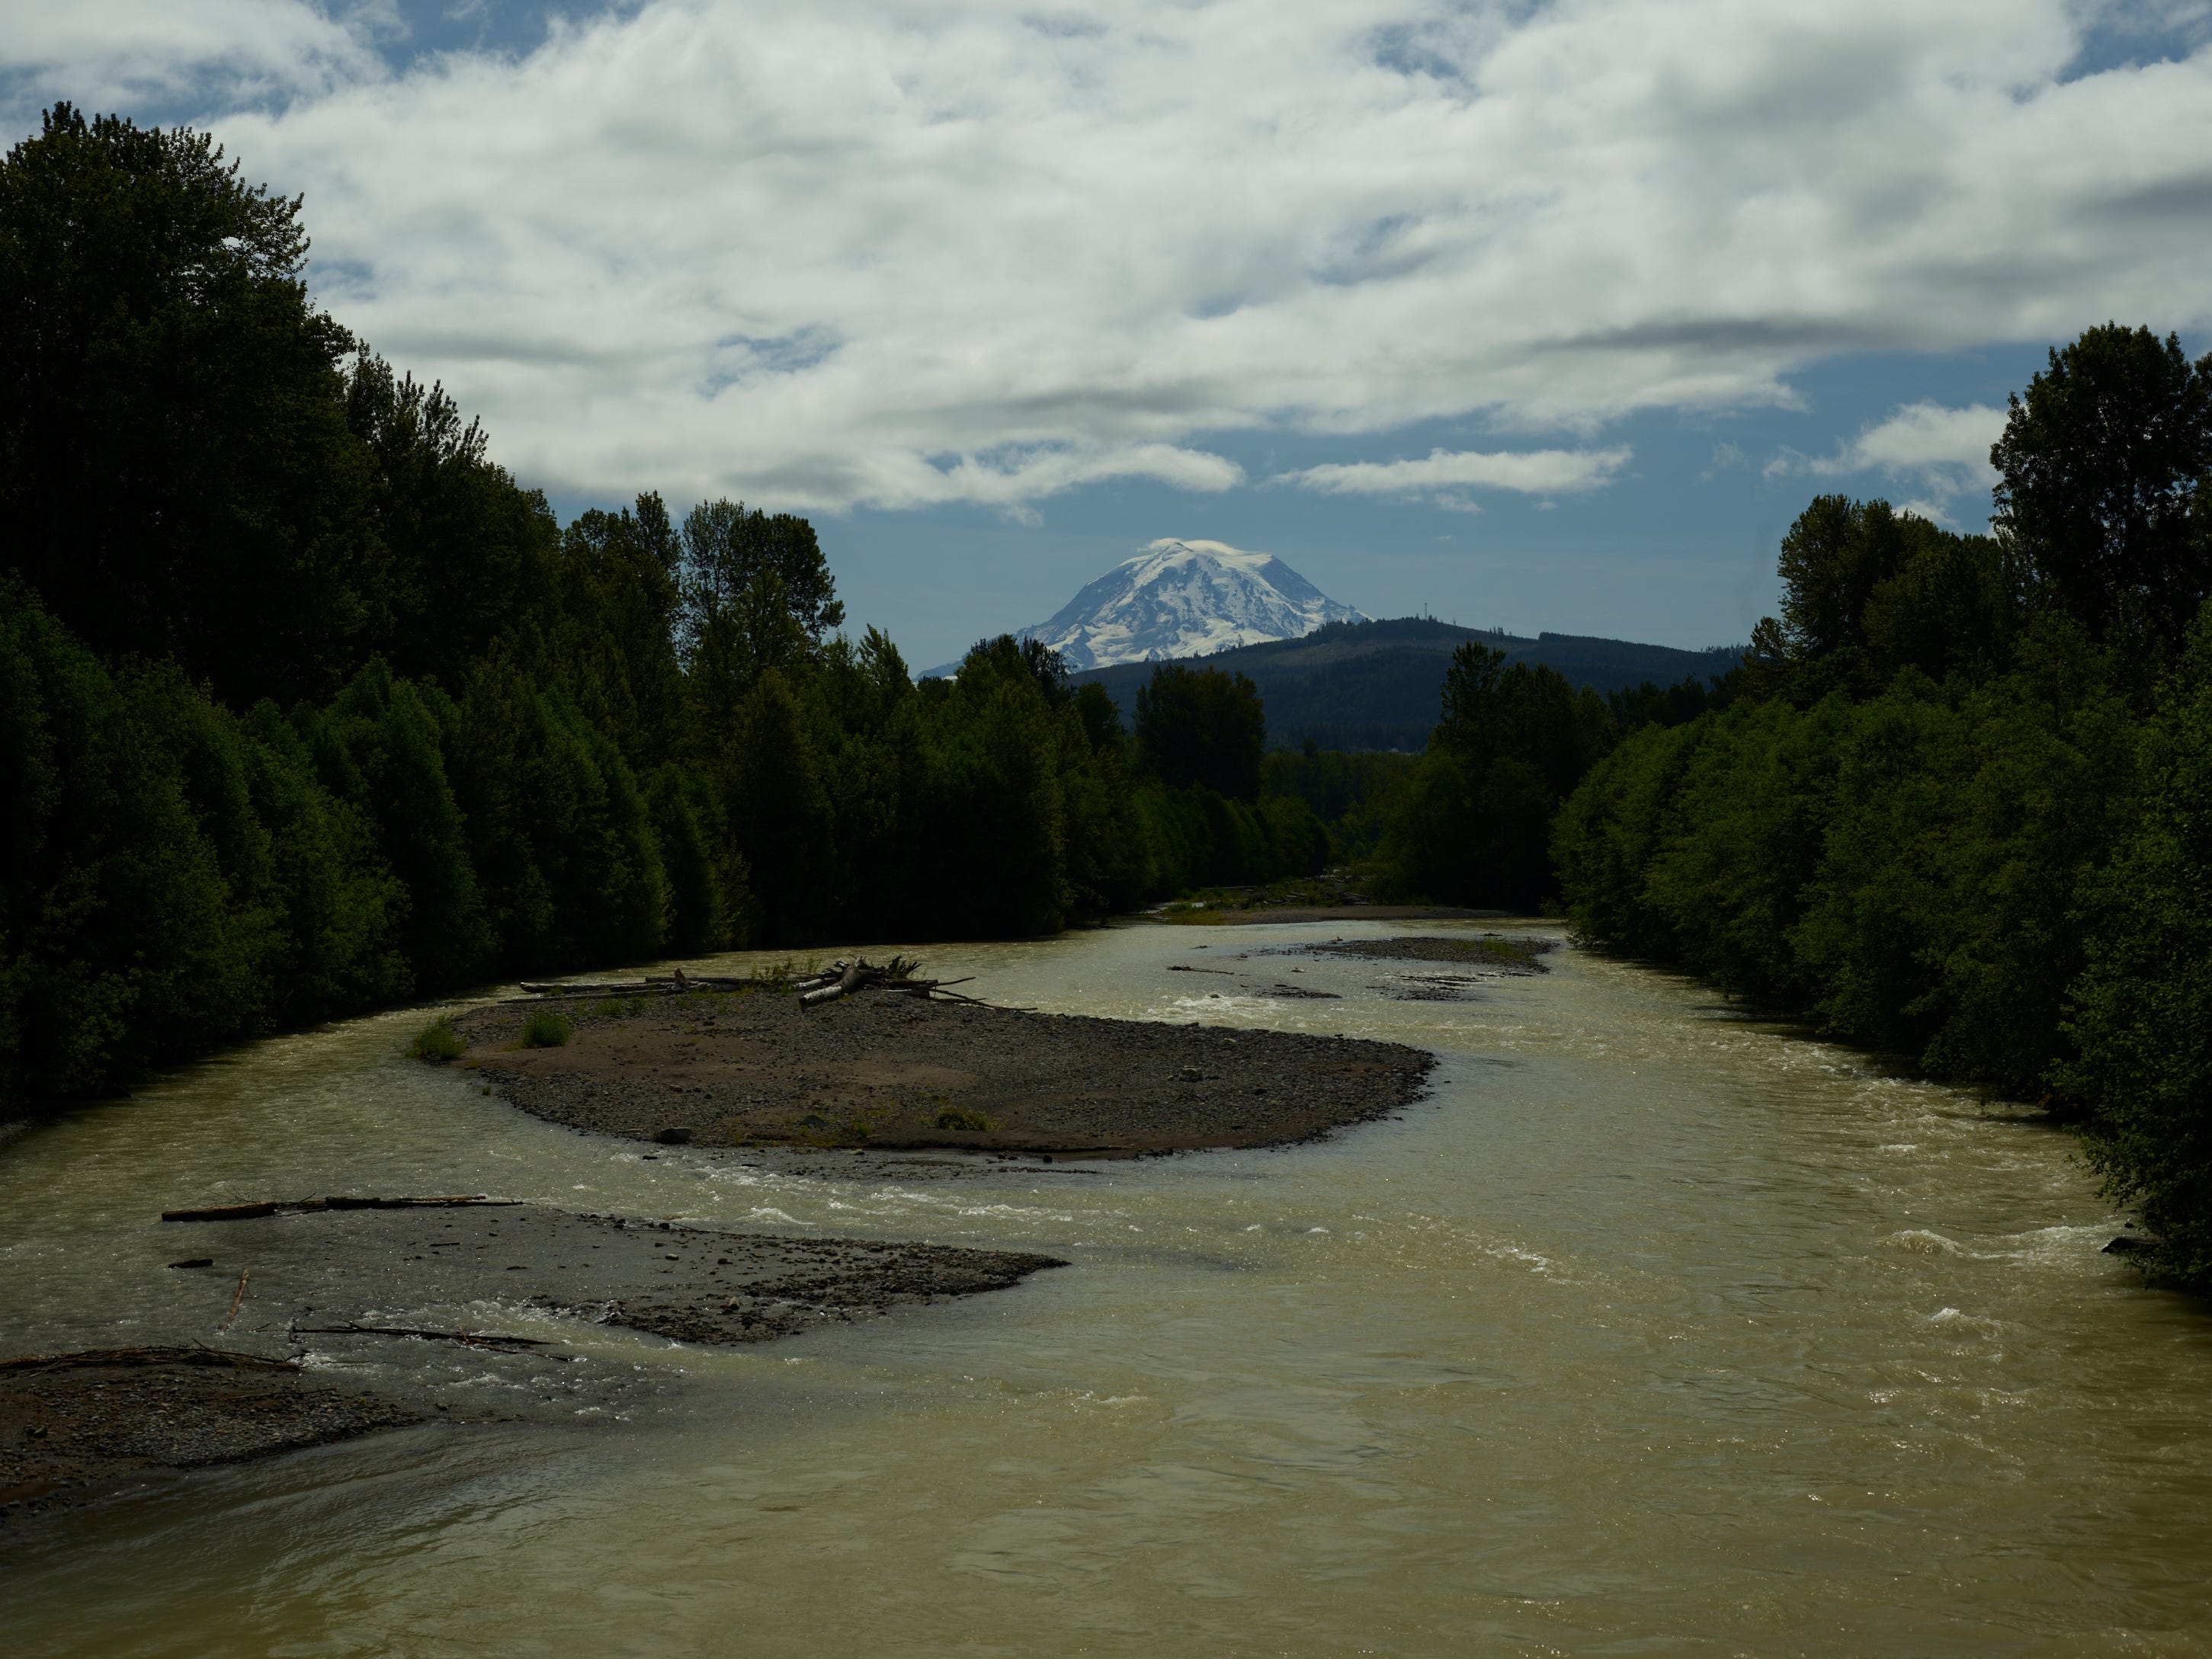
The water looks yellow instead of muddy, and the darks are…really really dark. Rainier is perfect, the clouds are perfect, so I worked from the bottom up—increasing the brightness of the darkest areas first, then the shadows that that revealed, and pretty much left the mountain and sky alone as much as I could. I fixed the white balance as best I could after that—the little lenticular cloud above the mountain was pure white, so I didn’t have to fuss too much.
The next thing I tried was to add a 16-stop neutral density (ND) filter, which changed my exposure time to 30s instead of 1/500th second. This is the result after some really tough image processing:
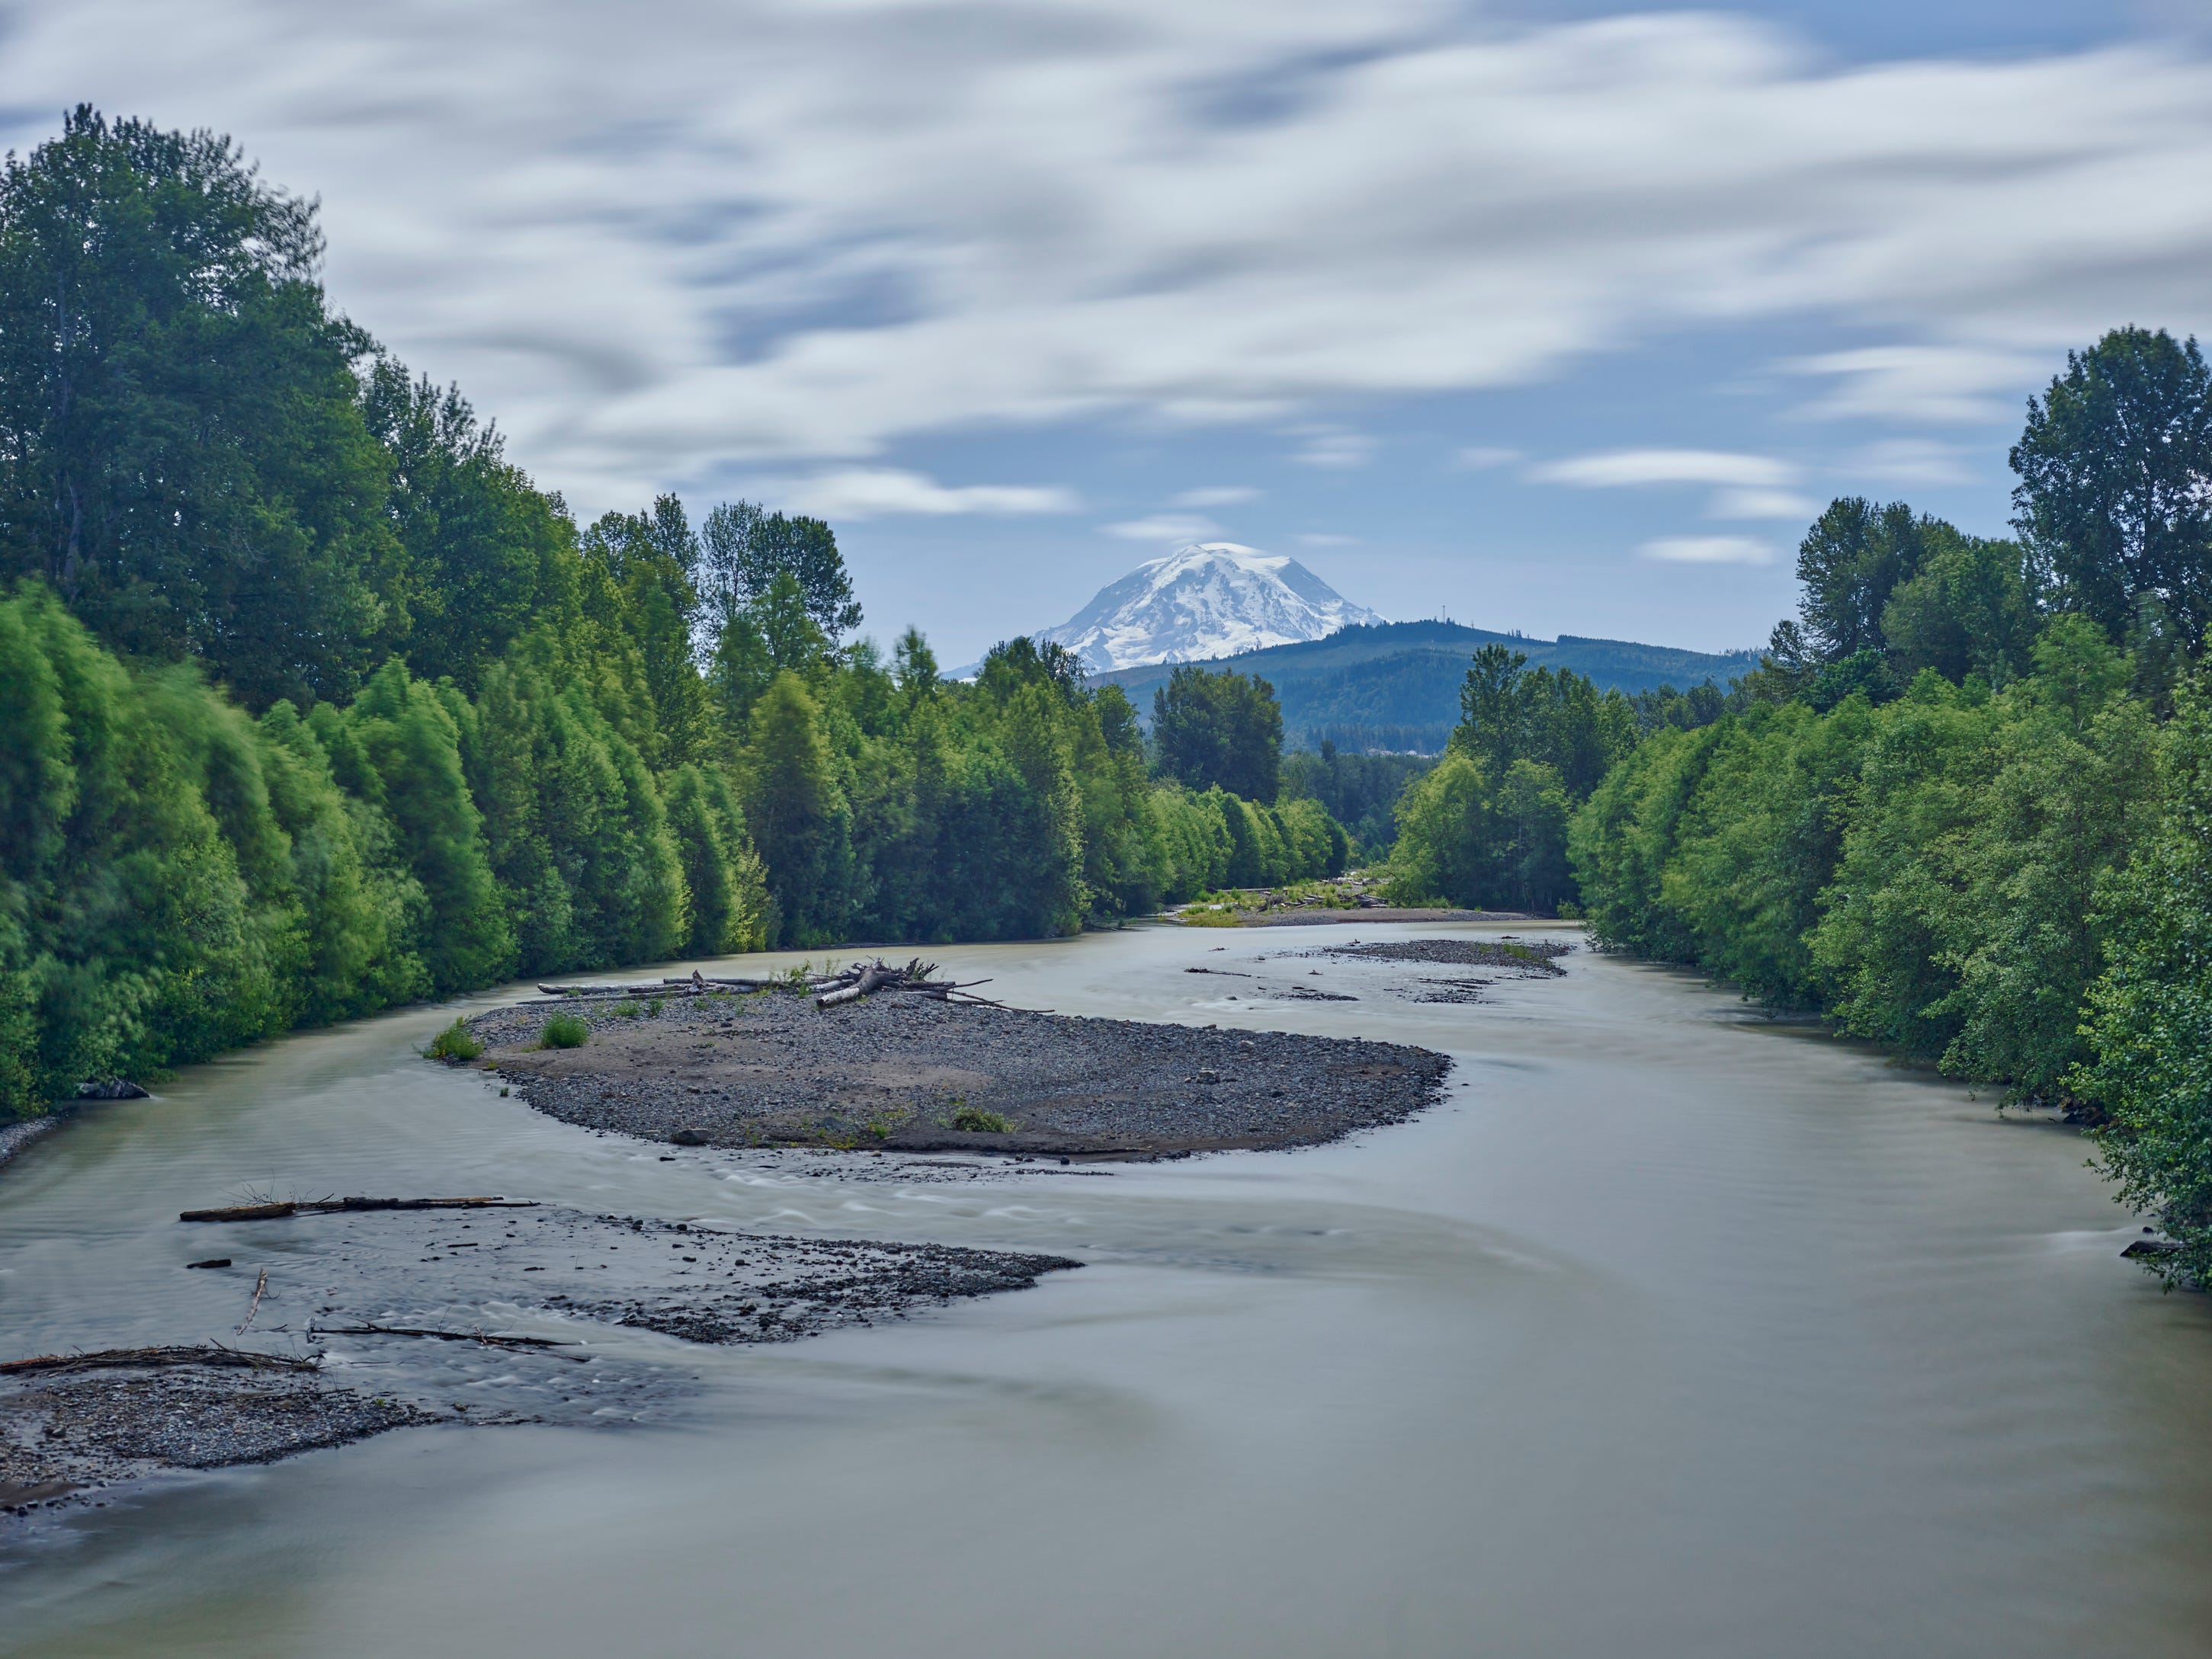
The result is transformative; it doesn’t look real to me at all! The clouds are broadly smeared, the water looks really cool, and some of the trees look like solid objects with fur. The leaves were being tossed around a bit by the wind, and on the closer trees this blur is very noticeable. (The trees on the right have very little of this, it comes down which way the wind was blowing.)
I’m not a big fan of this particular result, but I think there is potential for the ND filter in situations where I have more limited movement, or movement of specific portions only.
Here is an image from a few days prior to the above shots, when the sky was predictable, there were no fancy filters to cope with, and a few people were out swimming on the Puyallup River. Sometimes simple is simply the best option. This image looks natural, richly colored, and very sharp.
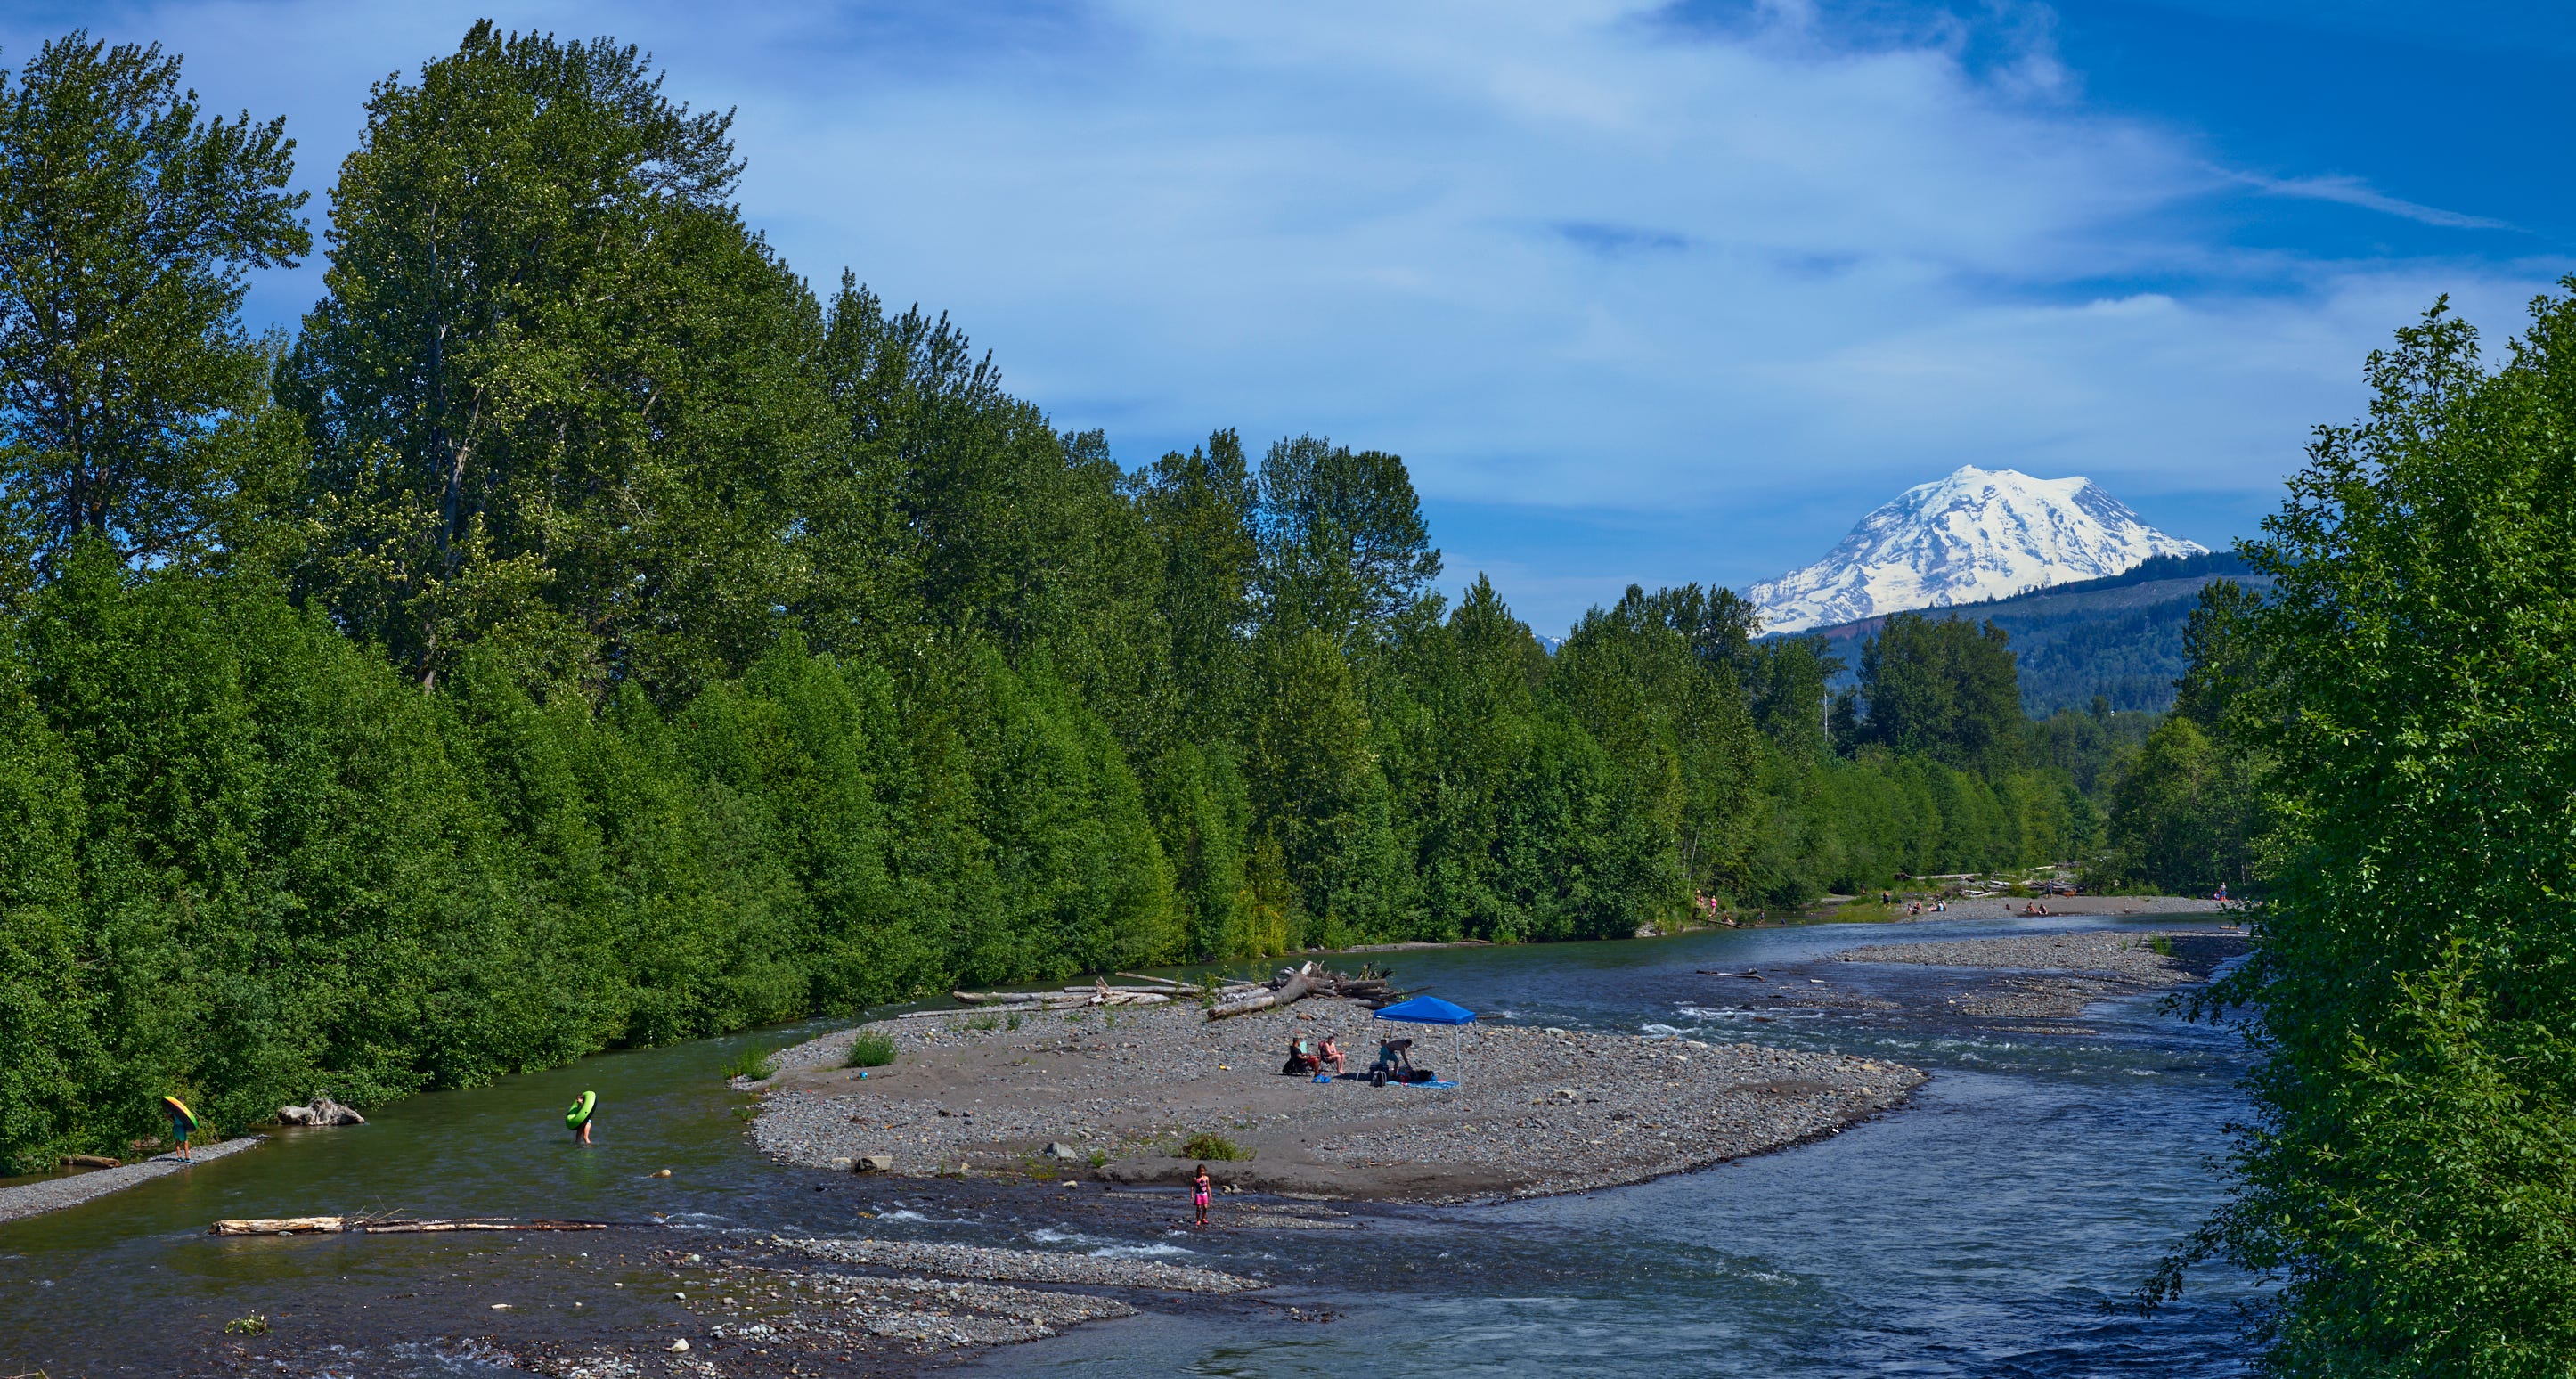
All of the shots on this page were taken with the Mamiya 80mm lens, Phase One XF camera, and IQ3 100 digital back.